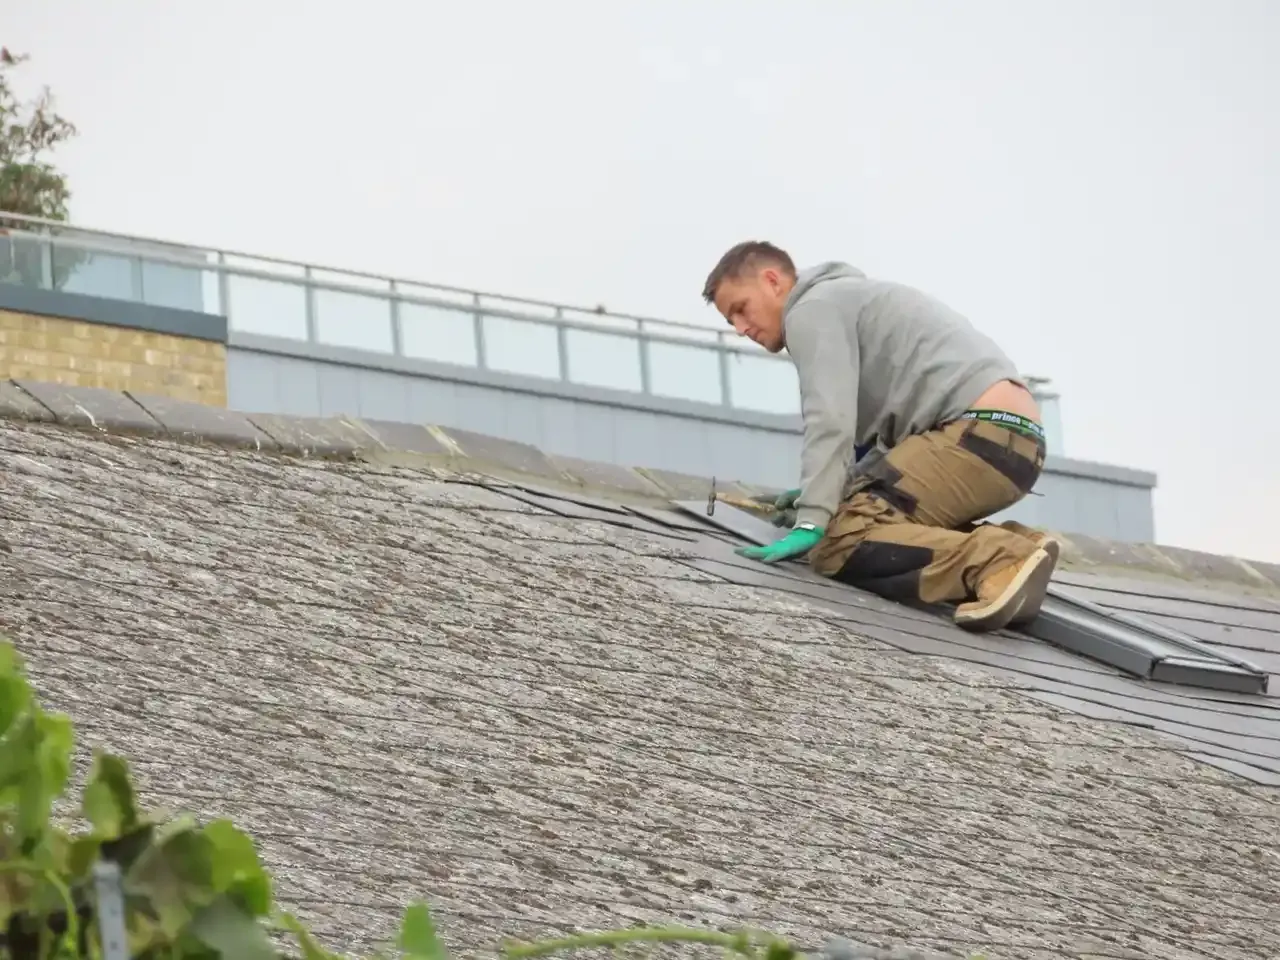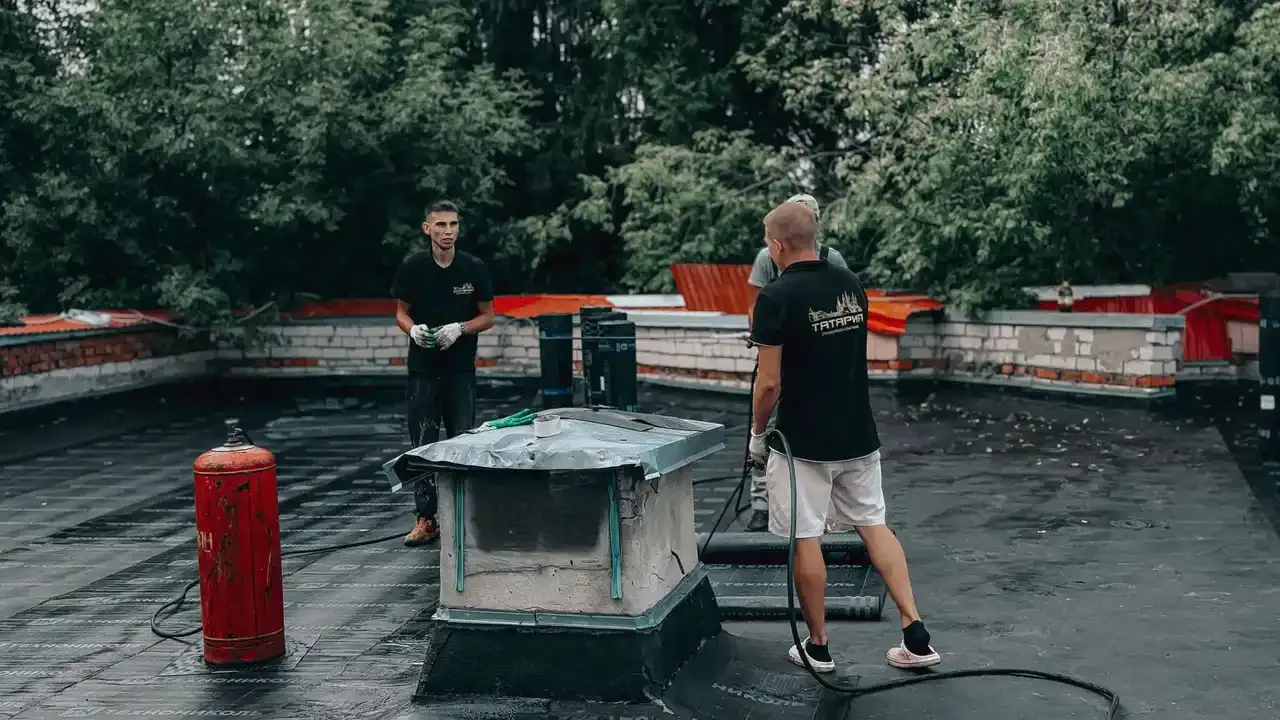
Homes And Rentals
A roof leak can stain ceilings or dampen attic materials before you see damage outside. We inspect the transition and explain what needs repair.
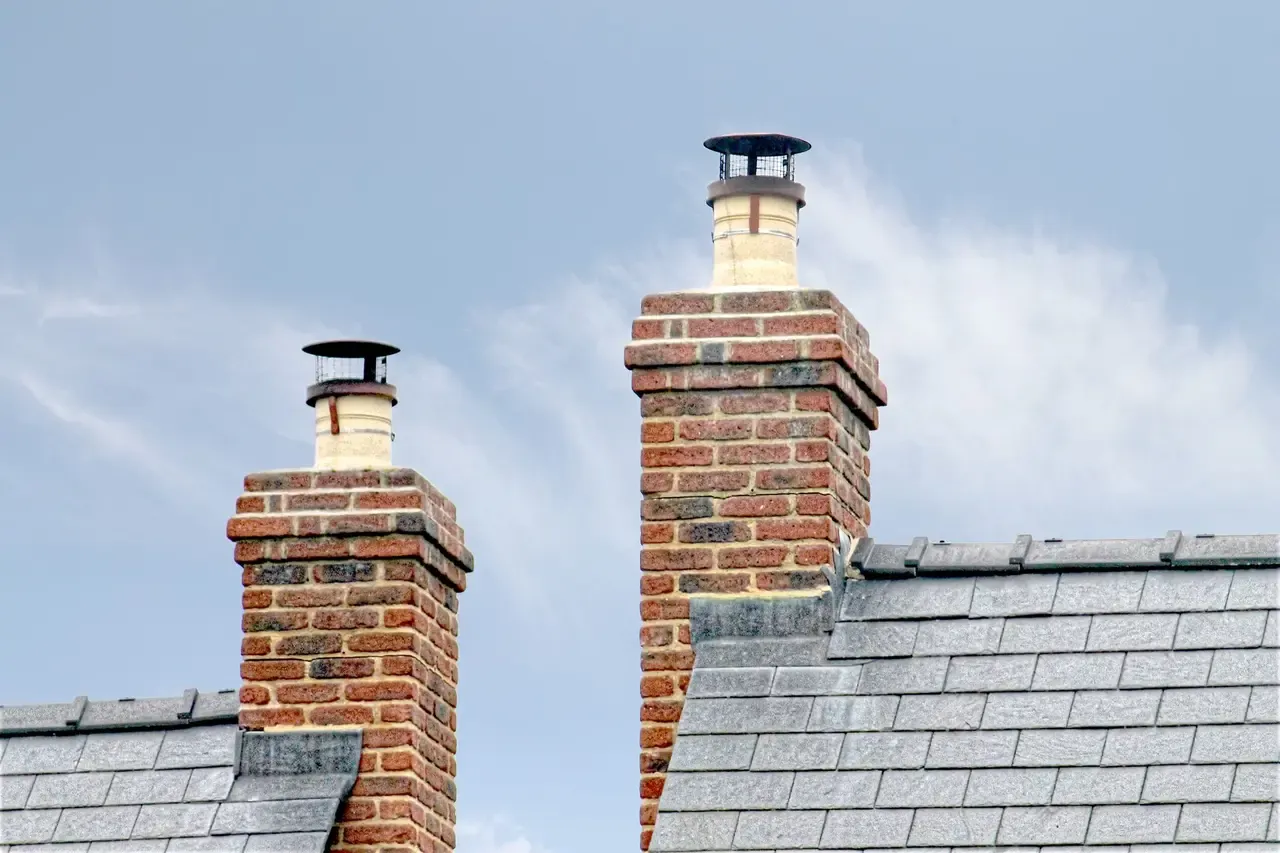
- Chimney leak after rain
- Vent boot split
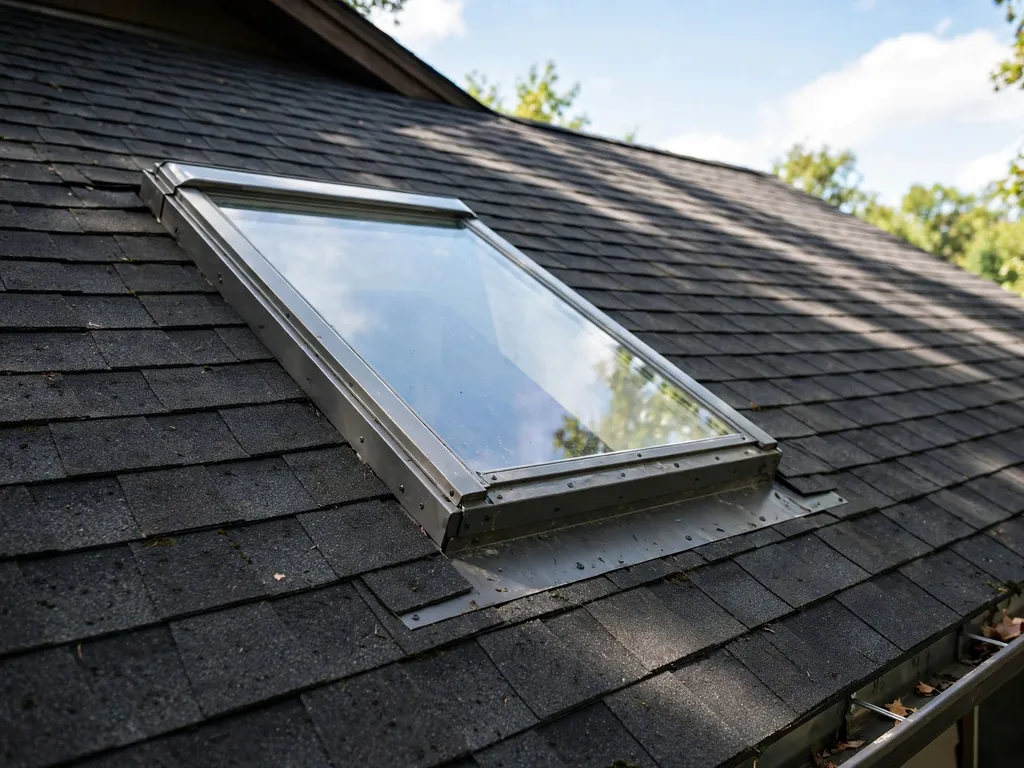
- Skylight corner stain
roof flashing repair and replacement Tomball TX helps protect your home or business when a joint around a chimney, vent, skylight, valley, or wall starts leaking. We locate the entry point, remove failed metal or sealant, and install a weather-shedding repair suited to your roof. If you have ceiling stains, damp decking, or a leak after a storm, our Tomball crew can inspect the area and explain the practical fix.
 Leak tracingFlashing lapsDeck moisture
Our service covers inspection and repair of roof flashing at chimneys, vents, skylights, valleys, walls, and roof edges. We remove failed components, restore water-shedding overlaps, and reconnect affected roofing. If we find damaged decking, underlayment, or a larger roof defect, we explain how that changes the repair before doing that additional work. The goal is a sound transition, not a surface patch hiding the cause.

We inspect the suspected transition, adjacent roofing, and accessible attic area for water tracks, loose metal, failed sealant, and damaged materials. You get a direct explanation of the likely entry point before the repair begins.
We reset serviceable metal or remove failed flashing and fit a replacement suited to the roof surface. The repair restores overlap and drainage around the affected chimney, vent, skylight, wall, valley, or edge.
We lift and reset nearby roofing as required to integrate the flashing with underlayment and shingles or panels. Damaged surrounding pieces are identified so you know what must be corrected to close the transition properly.
Where accessible, we check for damp or deteriorated roof decking near the leak. If the wood is compromised, we show you the affected area and explain the related repair needed before the roof is closed.
We collect removed metal, fasteners, and roofing scraps from the repair area and nearby ground. Before leaving, we review the completed transition with you and note any separate roof concerns found during the work.
The approach is the same for a home and a business. What changes is the access, the schedule and who needs the paperwork.
A roof leak can stain ceilings or dampen attic materials before you see damage outside. We inspect the transition and explain what needs repair.
A leaking roof transition can interrupt operations and threaten stored materials. We identify the roof system and repair the affected penetration or wall joint.
A plain-language look at what Roof Flashing Repair & Replacement involves and when it is needed.
See how it worksroof flashing repair and replacement Tomball TX is roof-envelope work that seals joints and transitions where water could enter around chimneys, vents, skylights, valleys, and roof edges. Flashing directs runoff over the roof surface instead of letting it reach roof decking or interior finishes. We check how the metal overlaps shingles or other roofing, whether fasteners have loosened, and whether the surrounding underlayment remains sound. A durable repair addresses the water path, not just the visible stain or a bead of roof sealant.
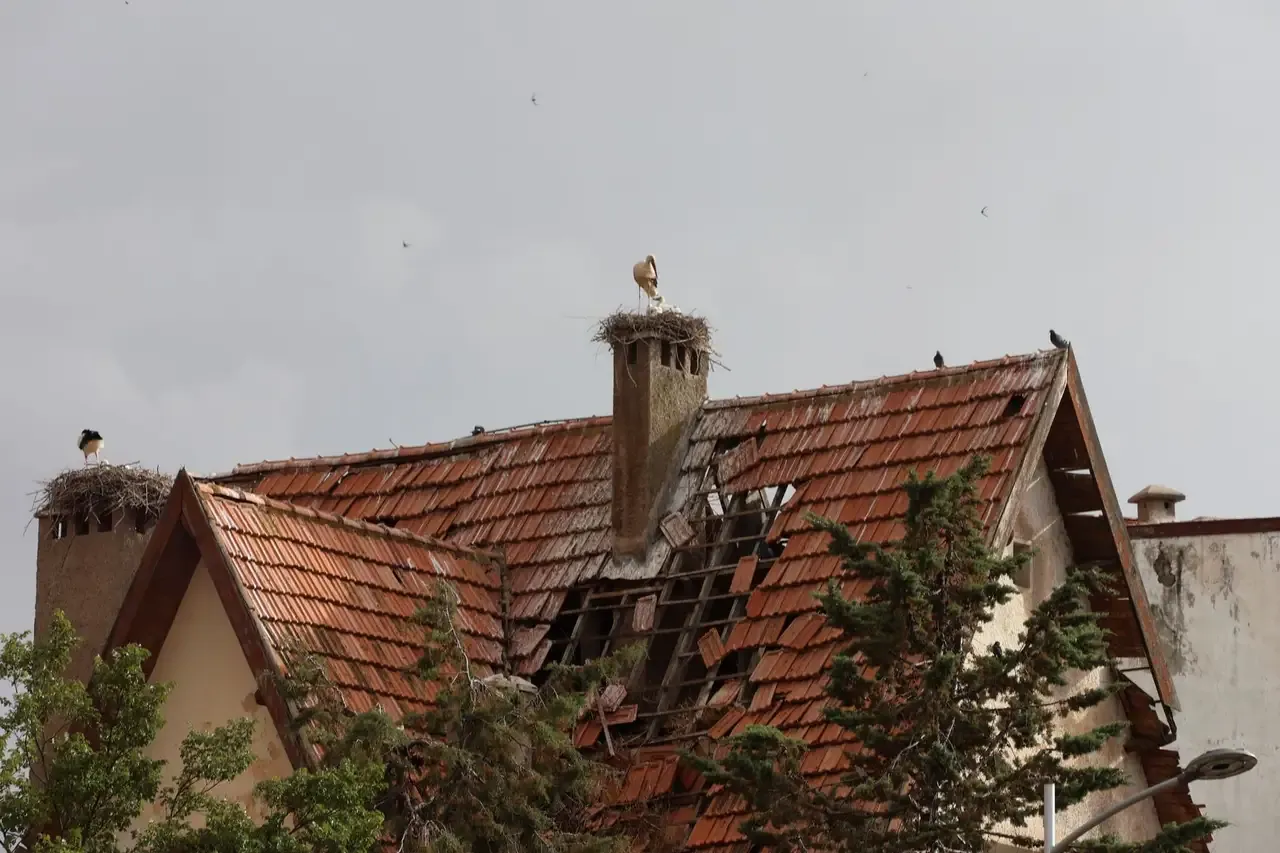
Tomball roof flashing repair and replacement is often needed after wind-driven rain, hail damage, or years of movement around a chimney or vent. Warm, humid weather and sudden downpours can expose a small gap quickly; a ceiling water stain is often the first indoor clue. We inspect the exterior transition and attic side where accessible, then show you whether a targeted repair or replacement is appropriate. For homeowners comparing roof flashing repair and replacement cost in Tomball TX, the affected material and any hidden wood damage matter more than the stain size.
Flashing works when each roof layer overlaps in the direction water drains.
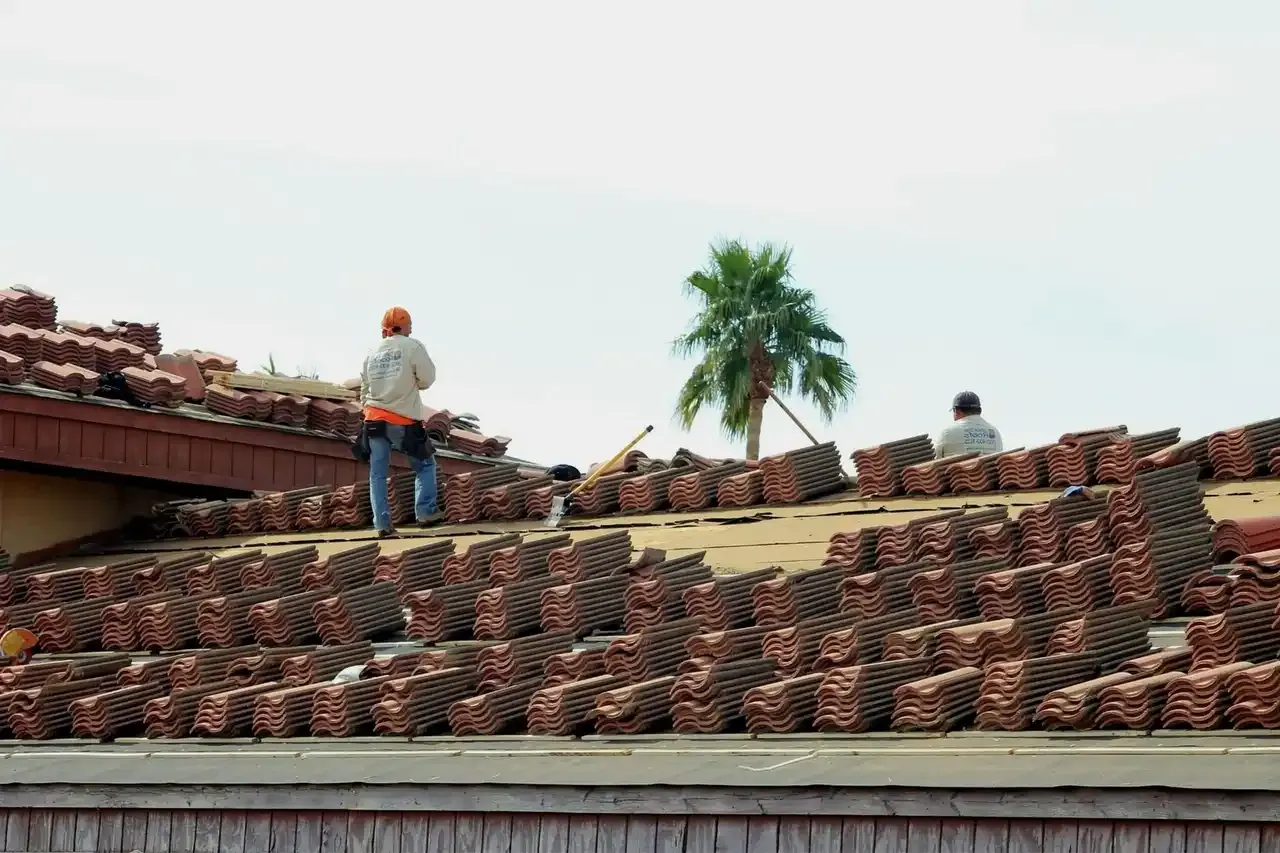
Roof flashing repair and replacement in Tomball, Texas follows a clear sequence: identify the water path, protect the work area, correct the transition, and check the result. We explain what we find as the job moves forward.
We start with your description of when the leak appears, then inspect the roof transition, nearby shingles, and accessible attic area. We check for lifted edges, corrosion, failed sealant, and moisture around the suspected entry. A focused inspection usually takes 30 to 60 minutes, depending on roof access and how many transitions show symptoms.

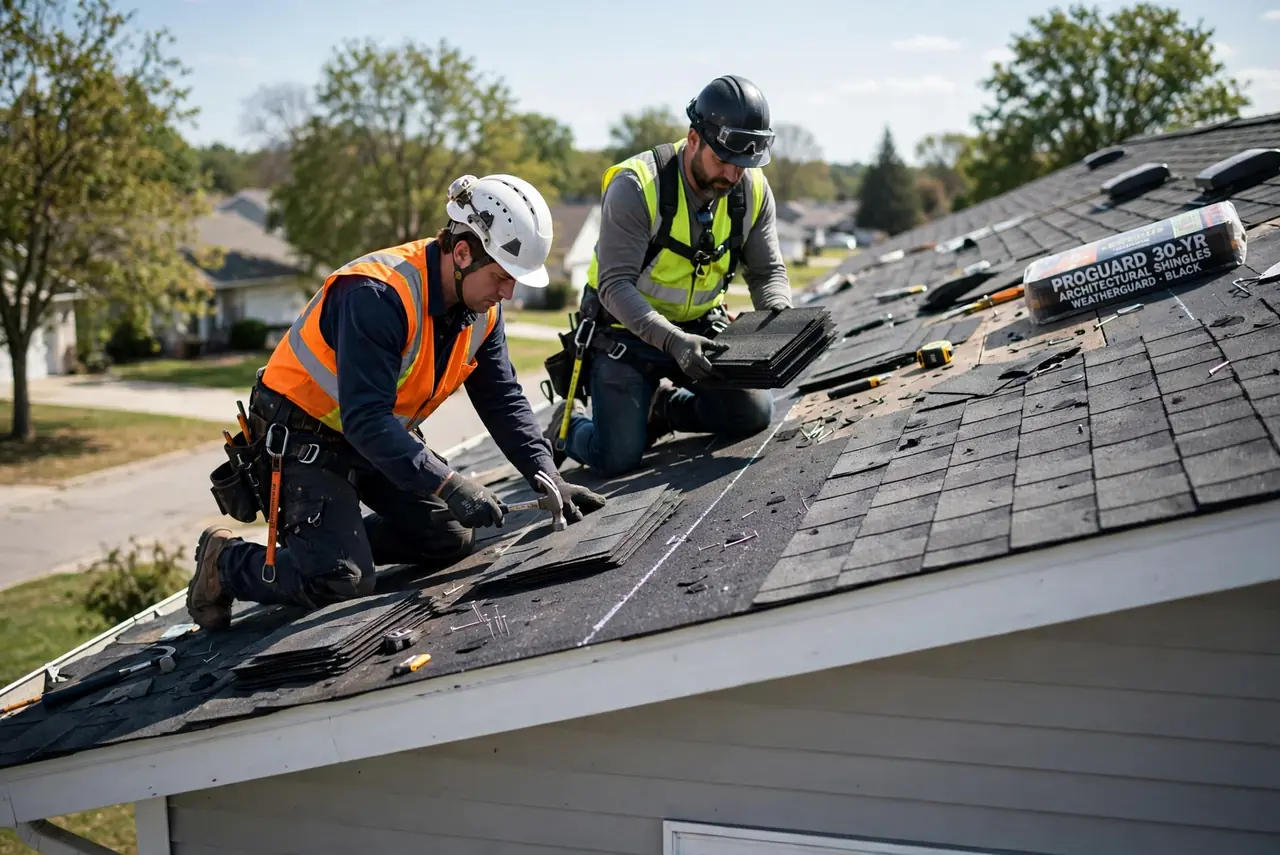
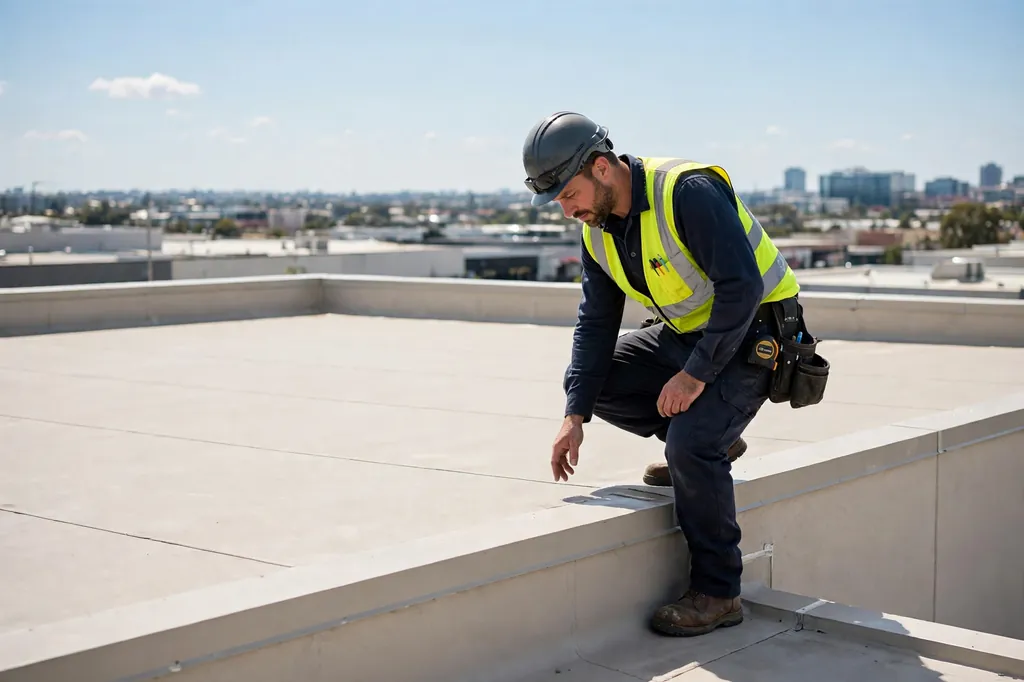
Before work starts, we position a roofing ladder, use a fall protection harness, and protect landscaping or the entry below the repair. We identify the materials and tools needed, including tin snips for metal work and a utility knife for roofing layers. You will know which area we are opening and why.
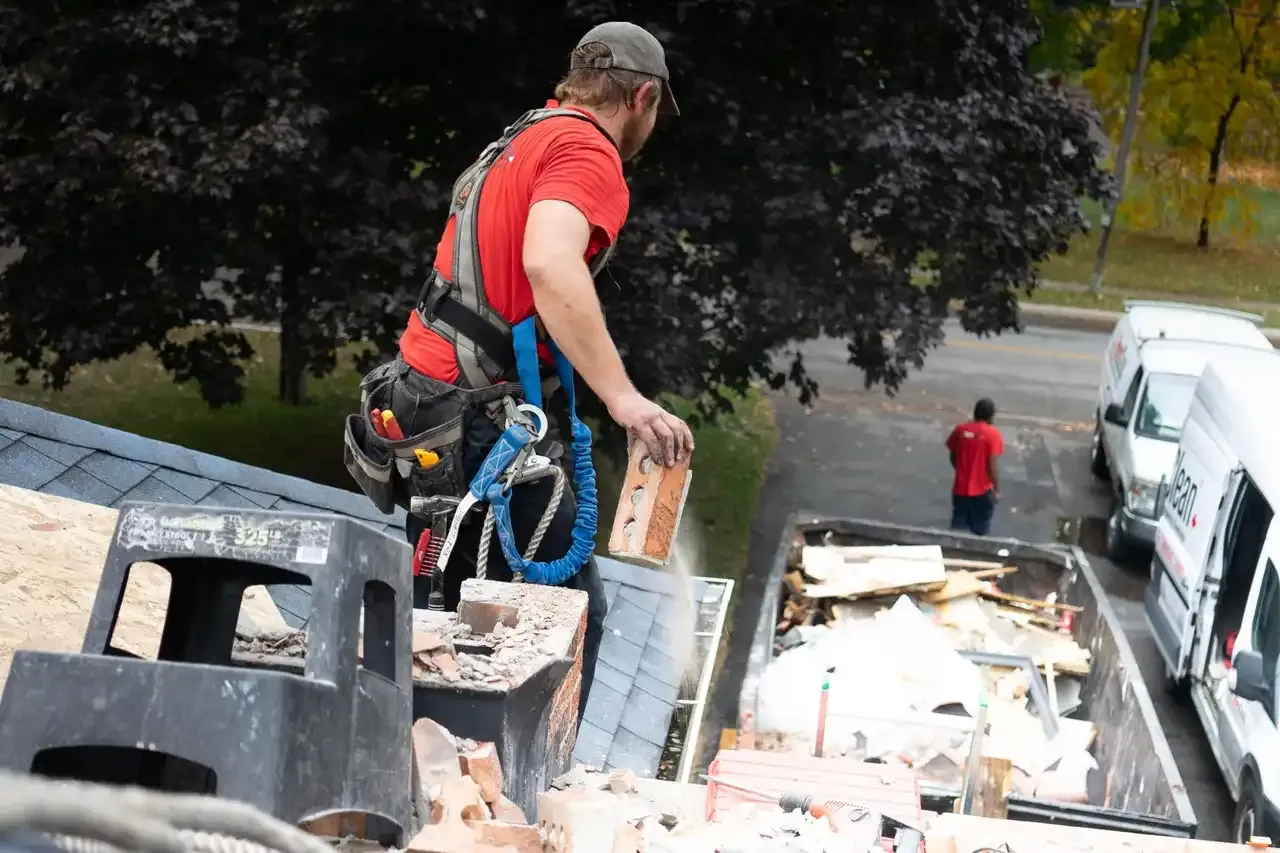
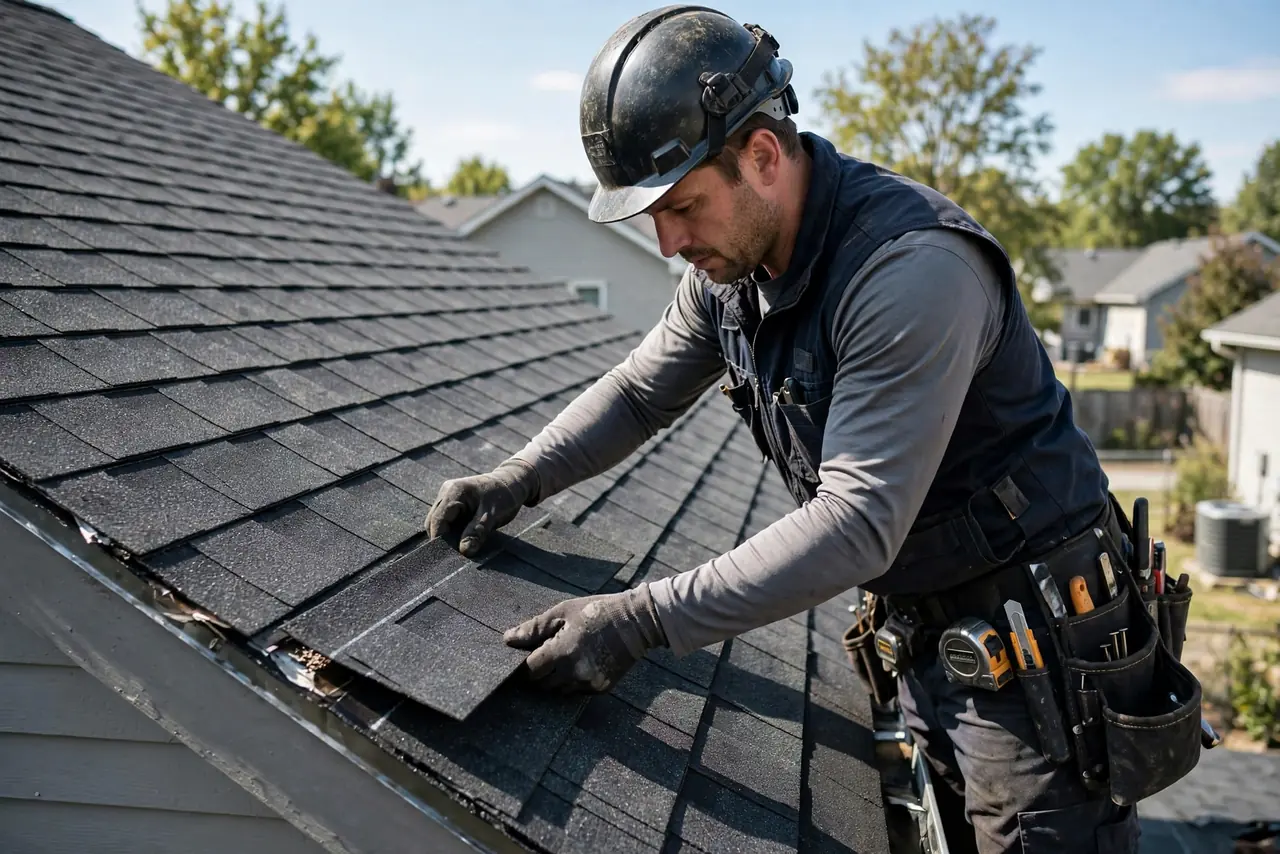
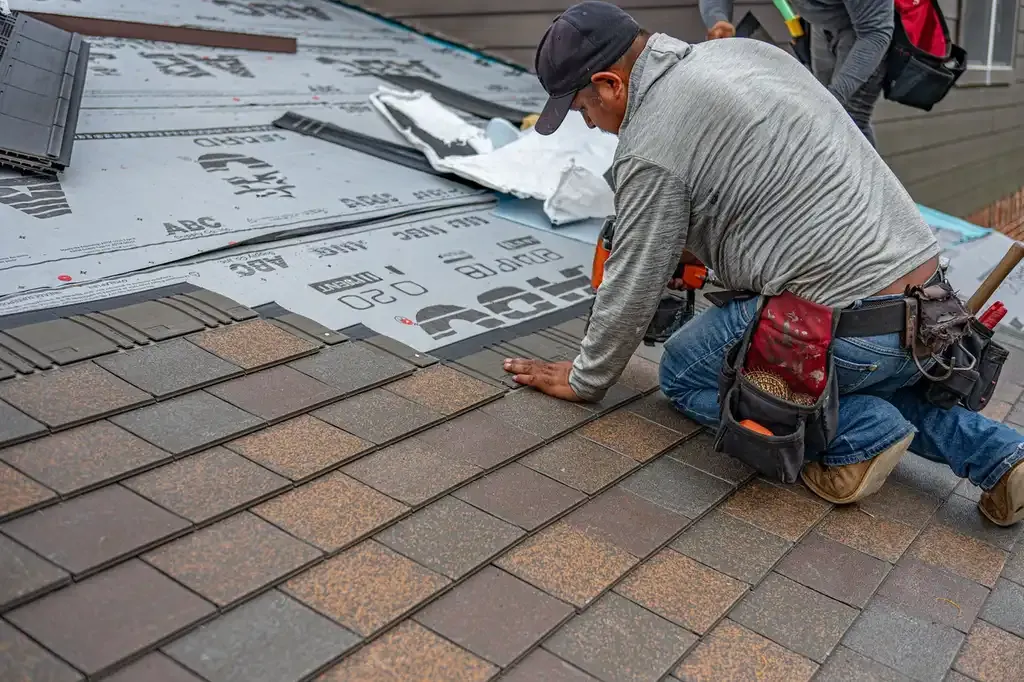
We lift only the roofing needed to reach the flashing and remove loose metal, failed fasteners, and deteriorated sealant. A pry bar and shingle ripper help release shingles without unnecessary damage. If we uncover soft decking or wet underlayment, we show you the condition and explain the repair before covering it.
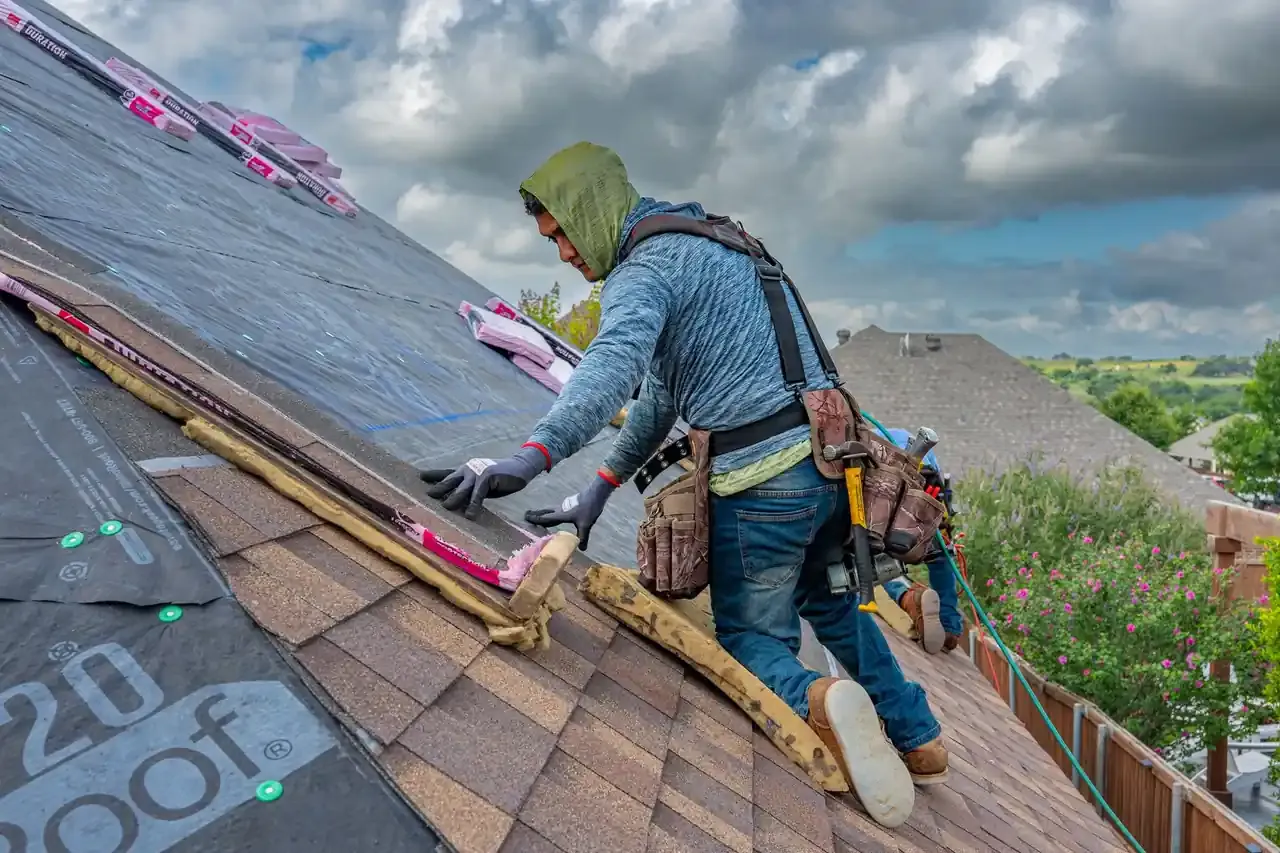
We fit new flashing or reset serviceable metal with water-shedding overlaps, then integrate it with the roof underlayment and adjacent roofing. The repair may include replacement shingles, compatible fasteners, and roof sealant at appropriate transitions. A small localized job often takes two to four hours; more extensive repairs take longer.
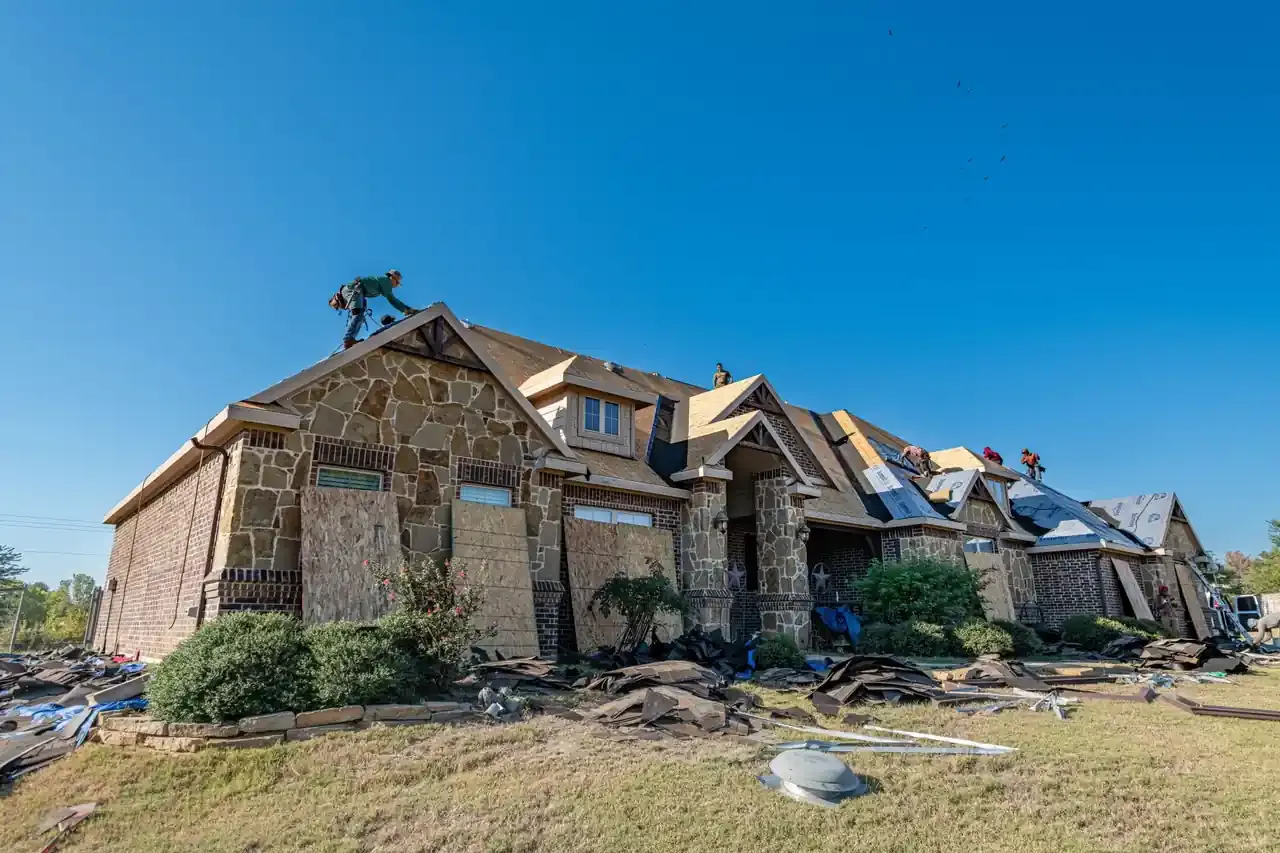
We check the finished laps, exposed fasteners, and surrounding roof surface, then remove scrap metal and debris. You receive an explanation of the work and any remaining roof concerns we observed. When weather conditions allow, we check water movement at the repaired transition without directing water into vulnerable roof openings.
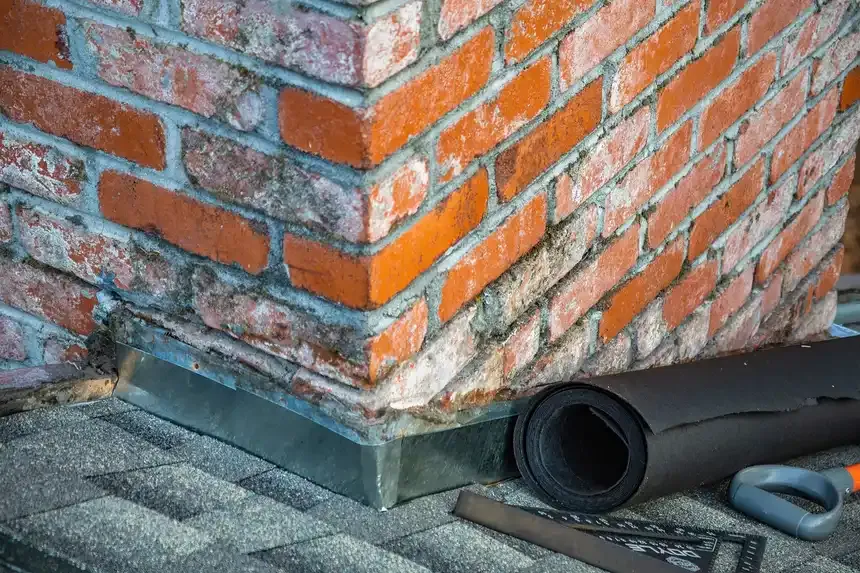
Move across a circle, or focus it and press Enter, for an illustrative thermal view of the photograph.
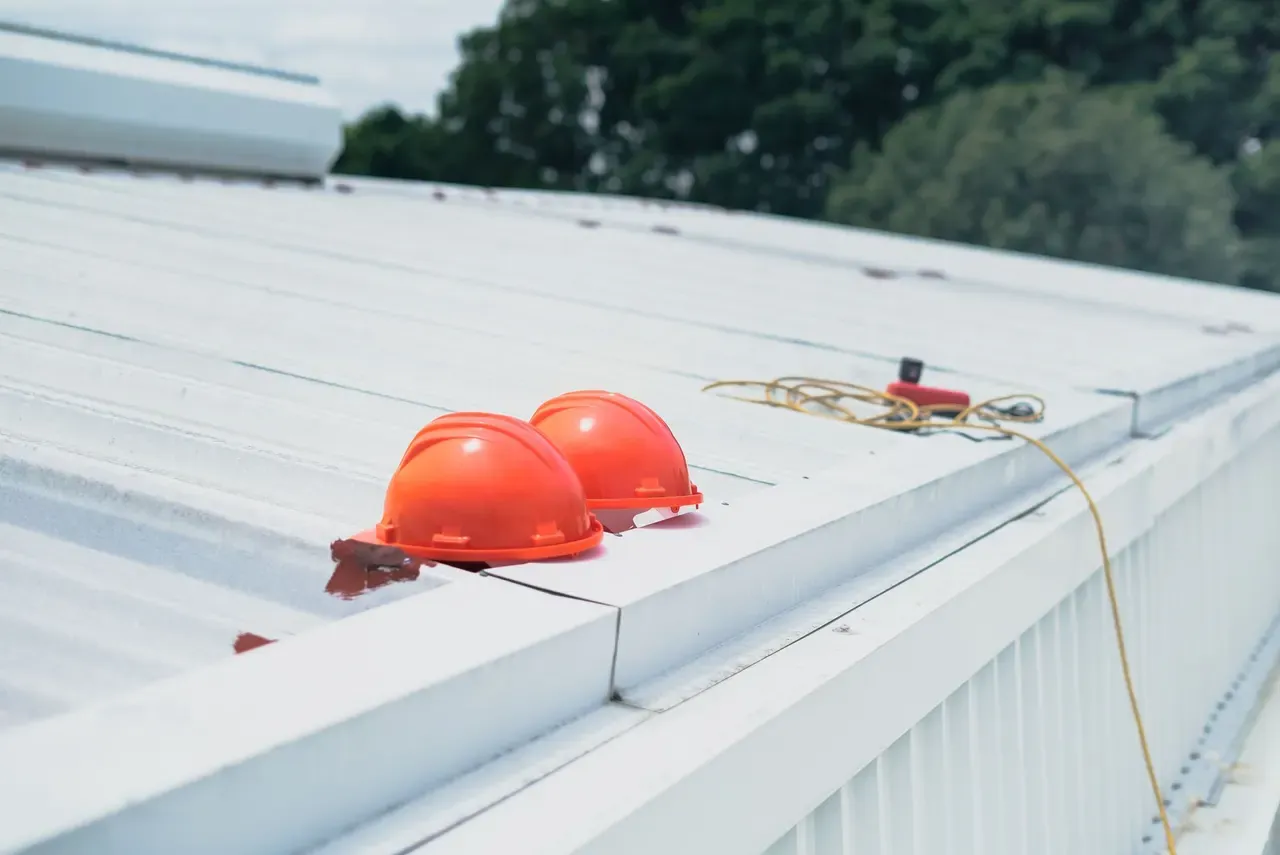
We use a shingle ripper to release fasteners and lift shingles above a flashing transition while limiting damage to surrounding roofing.
Tin snips shape replacement metal for a roof transition, allowing clean cuts around corners and edges without tearing adjacent materials.
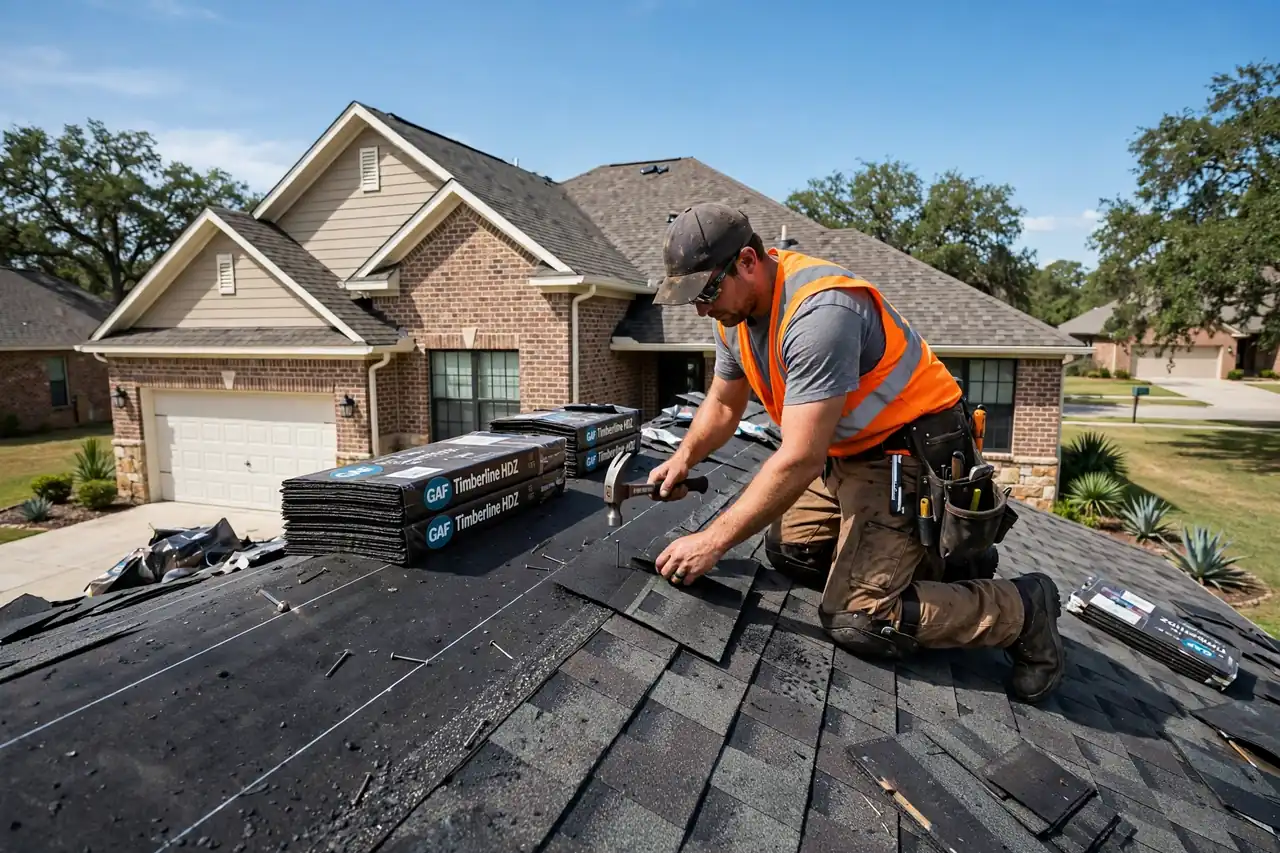
A roofing hammer helps remove or set roofing fasteners and secure shingle courses when we close the repair area.
We use a moisture meter on accessible wood to check whether a leak has left damp roof decking near the flashing.
A fall protection harness supports safe work positioning on sloped roofs while we inspect or repair elevated transitions.
Thermal views are illustrative, generated from the photographs.
We arrange flashing and underlayment so upper materials overlap lower materials in the direction water drains. At a chimney or wall, the sequence must work with each course of roofing. We check the completed laps before replacing shingles or panels, because the order of layers matters more than a surface sealant bead.
We open only the roofing needed to reach the failed transition and inspect its hidden layers. This limits disturbance to sound materials while giving us access to the flashing, underlayment, and visible decking. If the opening reveals wider damage, we show you the evidence and adjust the repair area accordingly.
We match the repair approach to the roof surface, whether it is asphalt shingles, metal roofing panels, or another system. The flashing must accommodate the roof's shape and drainage. We avoid forcing a detail intended for one material onto a different assembly.
We inspect fasteners, exposed edges, overlaps, and the surrounding roof after installation. When conditions allow, we check how water moves across the repaired area without flooding the opening. We also clear debris and explain what was repaired so you know where the work occurred.
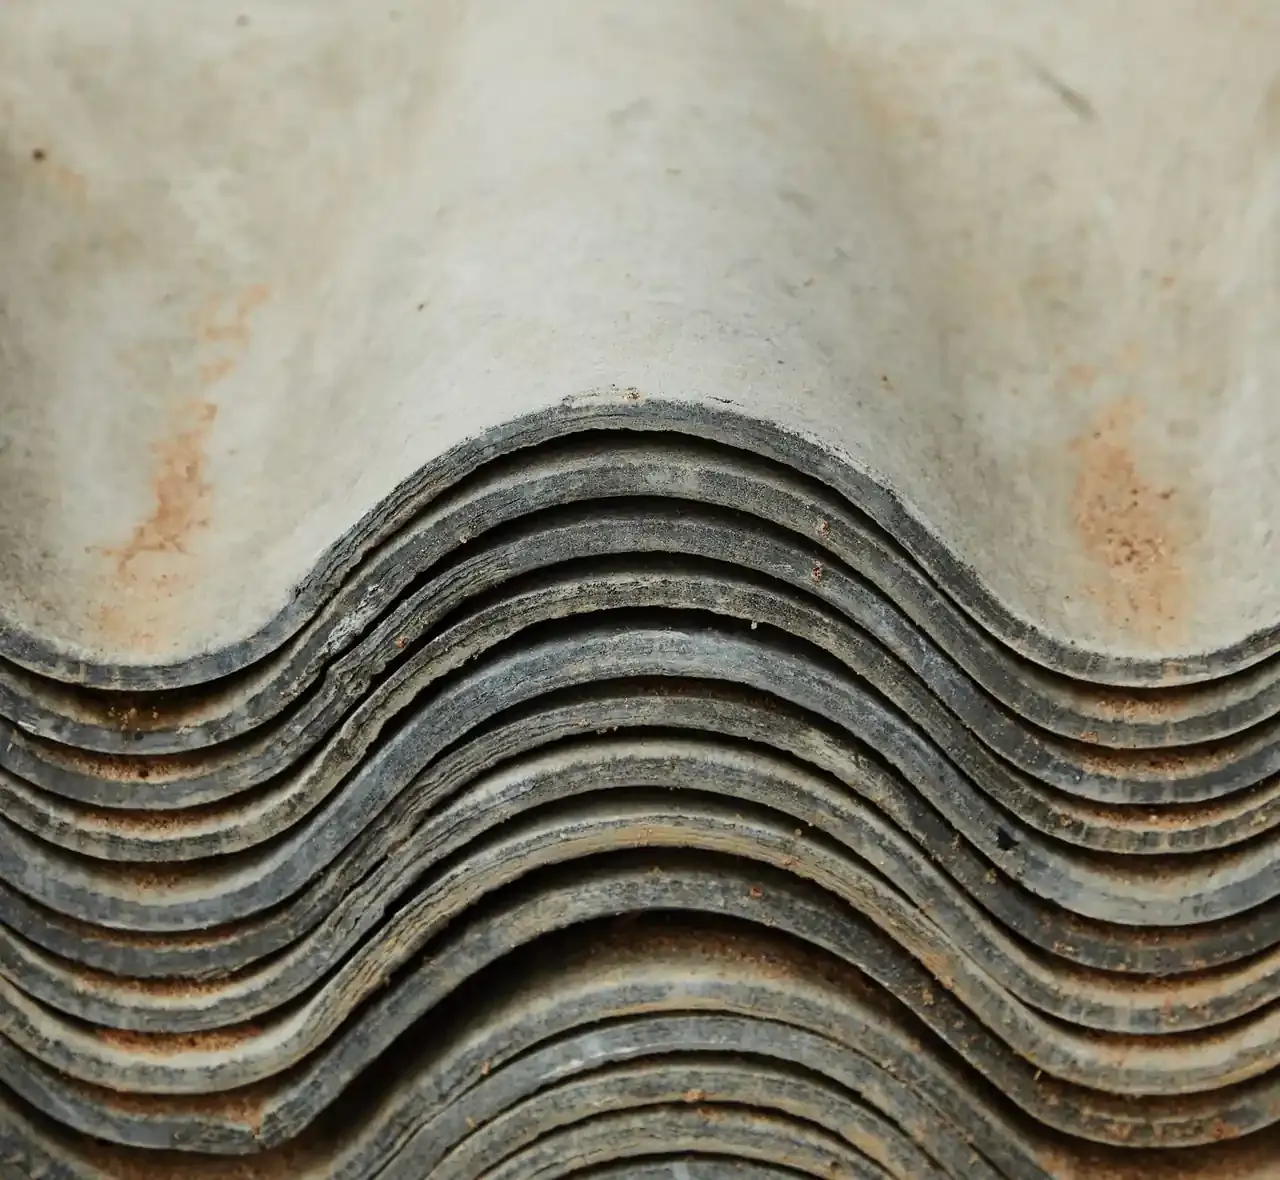
A Tomball homeowner sees a new ceiling stain below a chimney after a night of wind-driven rain.
We inspect chimney step flashing and counterflashing, follow any attic water track, and check nearby shingles for lifted edges. We repair the failed overlap and identify any damp decking before closing the roof. That keeps the work tied to the actual entry point rather than the location of the indoor stain.
Outcome: The chimney transition sheds rain correctly, and you know whether nearby wood or interior materials need separate attention.
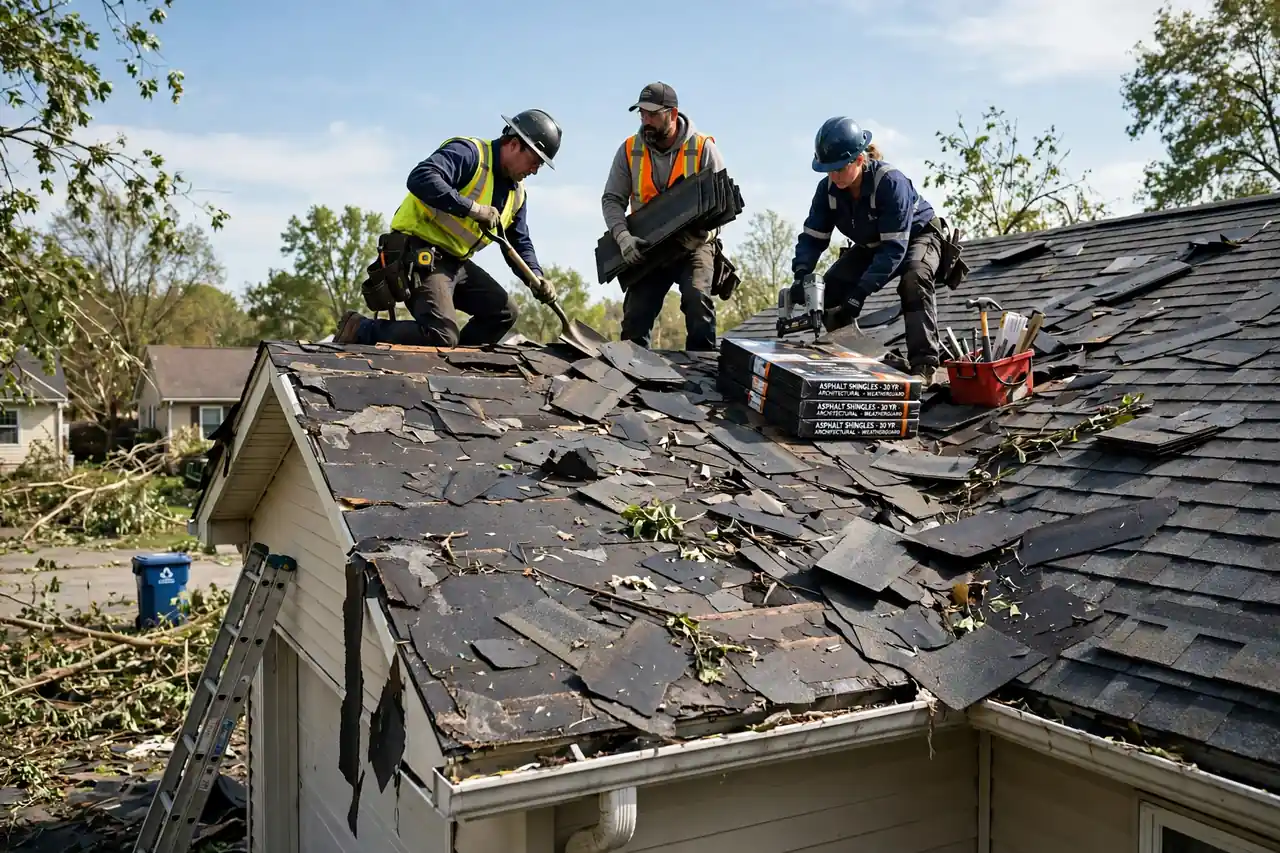
A vent leak returns each time heavy rain crosses Northpointe, despite repeated surface sealant.
We remove failed sealant where needed and inspect the vent flange, fasteners, shingles, and underlayment. If the boot or flashing has split, we replace it and integrate the new piece beneath the surrounding roof covering. We explain why the earlier surface patch did not stop water from entering.
Outcome: The vent base has a functional water-shedding connection instead of another bead covering a continuing gap.
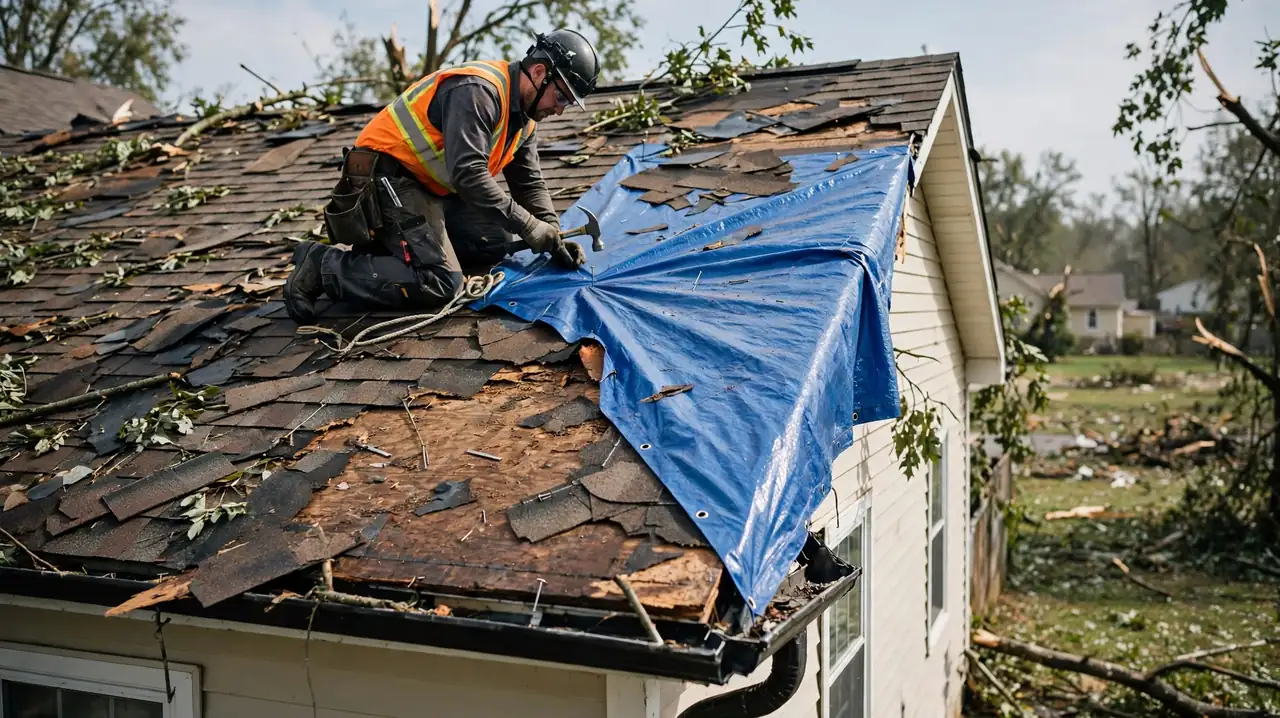
A small commercial roof in Tomball develops water entry around a rooftop penetration after a storm.
We identify the roof system and inspect the penetration curb, membrane laps, and adjacent drainage area. We use compatible materials and methods for that assembly rather than applying a shingle-roof detail. If the membrane or substrate is damaged beyond the transition, we show the affected area and describe the needed repair.
Outcome: The penetration is repaired in a way that fits the existing roof system and keeps drainage paths clear.
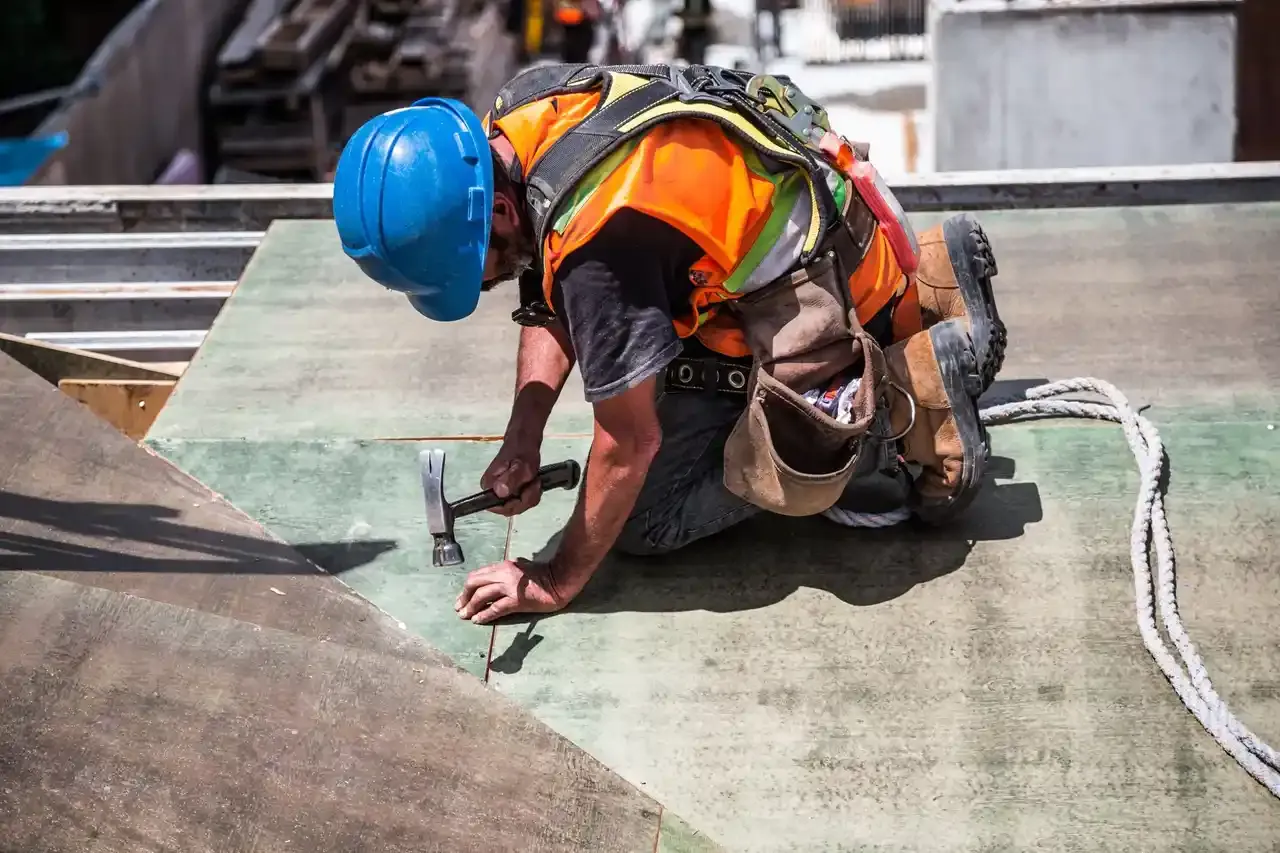
A homeowner in Pinehurst finds a damp attic patch near a wall where two roof sections meet.
We trace the moisture to the roof-to-wall transition and inspect step flashing, underlayment, and the nearby valley. We lift only the materials necessary to restore the laps and replace damaged components. Where moisture has reached decking, we explain that condition before the area is closed.
Outcome: The source is corrected at the joint, and concealed damage is identified instead of covered.

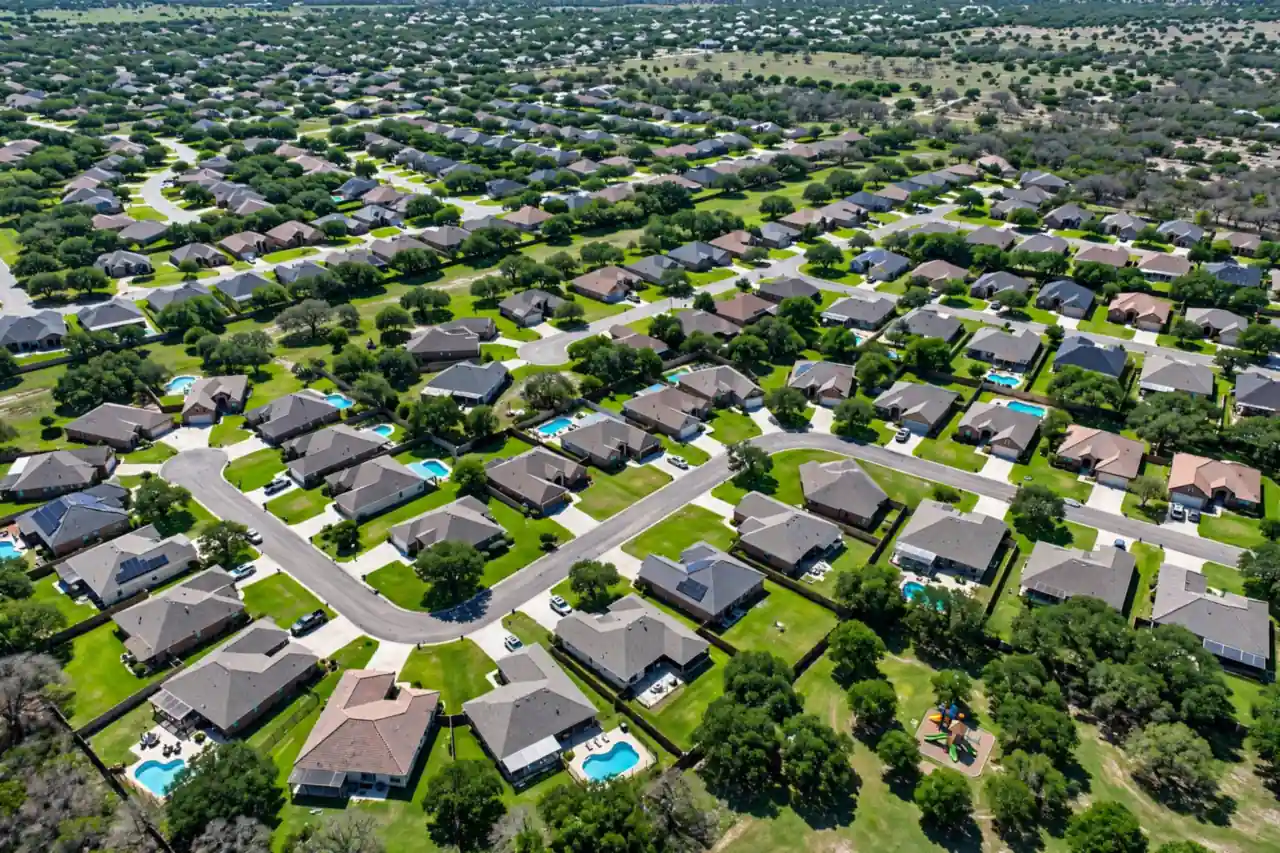
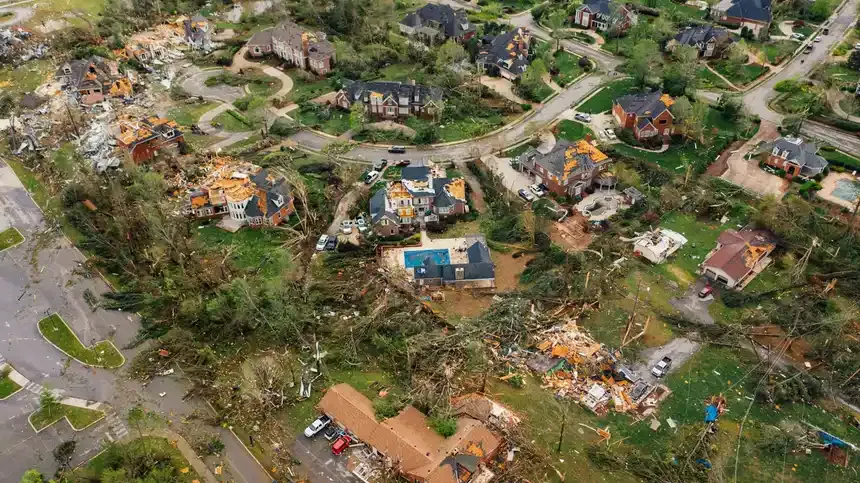
Tomball roofs face humid conditions, intense sun, and periods of heavy rain that test every joint around a chimney, vent, skylight, and wall. Wind-driven storms can lift shingle edges or shift exposed metal, while long warm periods can dry and crack old sealant. We inspect the transition and the roof surface around it, because water often travels before it reaches a ceiling.
Tomball roof flashing repair and replacement starts with identifying the roof type and the water path, then choosing a detail that fits both. In Harris County, roof work must follow applicable local requirements and the relevant building-code provisions; we account for those requirements as we plan the repair.
Homes in 77375 and 77377 include varied roof ages and materials, so we do not assume every leak needs the same flashing assembly. If a storm has left an opening, call about flashing repair Tomball TX and describe where you see water. We will determine whether roof access is safe, inspect the affected area, and explain the repair steps.
Before: A homeowner noticed a ceiling stain after storms, with water appearing near a chimney but no obvious missing shingles. The counterflashing had separated at one corner, and nearby roof materials showed dampness. A quick surface patch would have hidden the opening without restoring the water-shedding overlap.
After: We replaced the failed corner section, reset the adjacent shingles, and restored the flashing lap across the affected transition. The repair covered a localized area of roughly 3 feet, and the homeowner could see the corrected joint before cleanup. The attic-side moisture check helped identify the extent of the damp area.
Check the ceiling and accessible attic after the next heavy rain. Keep chimney masonry joints and roof transitions in view during routine inspections, and call if a new stain or damp smell appears.
Before: A recurring drip appeared near a bathroom vent whenever rain came from one direction. The boot had cracked, and old sealant was loose around its base. Water had begun marking the ceiling, although the surrounding shingles looked intact from the ground.
After: We removed the failed vent flashing, installed a compatible replacement, and integrated its flange beneath the surrounding shingle courses. The repair took about three hours, including inspection and cleanup. We checked adjacent underlayment and reset the shingles without replacing sound sections of the roof.
Look for new ceiling marks after storms and have roof penetrations checked when other roof work is scheduled. Avoid applying household sealant to the boot, which can obscure cracks without repairing the flange.
Before: Water entered a room where a sloped roof met an exterior wall. The stain appeared below the joint, but the actual opening was a lifted flashing lap above it. A previous coating had covered the edge while leaving the underlying overlap open.
After: We opened the affected courses, replaced bent flashing, and restored the step sequence at the wall. The repair covered approximately 5 feet of transition and included resetting the shingles and checking the visible underlayment. The homeowner received a clear explanation of the corrected laps and remaining roof condition.
Keep gutters clear so runoff does not back up at the roof edge, and watch the wall below the repaired section for fresh staining. Have loose shingles or exposed metal inspected before the next storm season.
A failed flashing joint lets rain reach places the roof is designed to keep dry. We identify the source, correct the transition, and check for related damage before closing the roof. Early action matters when you notice a ceiling water stain or repeated dampness.
Correct overlaps direct rain away from roof openings and vulnerable materials.
A chimney leak or vent leak often starts where metal laps have opened or sealant has failed. We remove compromised material, prepare the joint, and restore the overlap so water sheds onto the roof. That targeted work can prevent repeated ceiling stains and reduce the chance that a small flashing leak develops into damaged roof decking.
Flashing work should not leave surrounding shingles cracked or lifted. We use a shingle ripper and roofing hammer carefully, then reset affected asphalt shingles around the repair. If the surrounding roof is brittle or deteriorated, we explain the added work before proceeding so you can choose a sensible repair boundary.
A moisture meter helps us check accessible wood near a suspected leak rather than guessing from a ceiling mark. We look for damp roof decking and underlayment failure, then identify whether drying, wood repair, or flashing work is needed. Finding the extent early helps you avoid sealing wet materials behind a fresh patch.
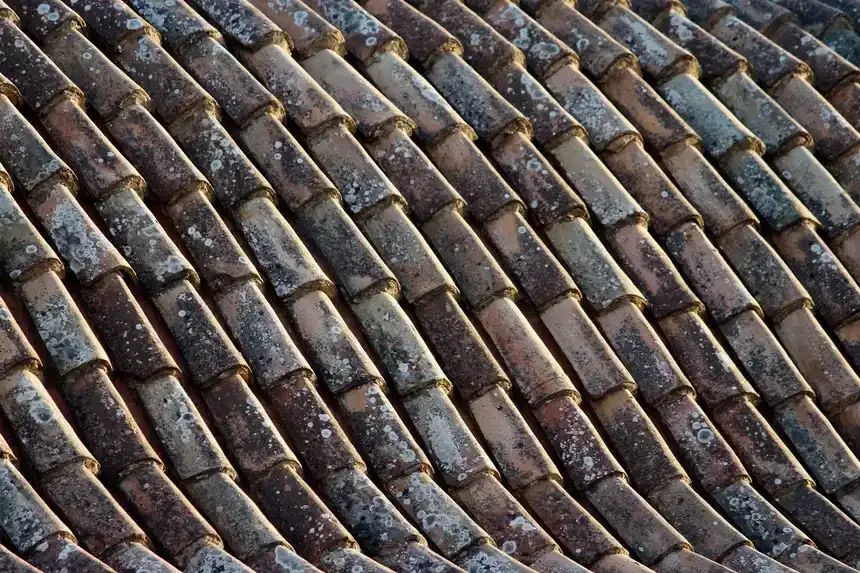
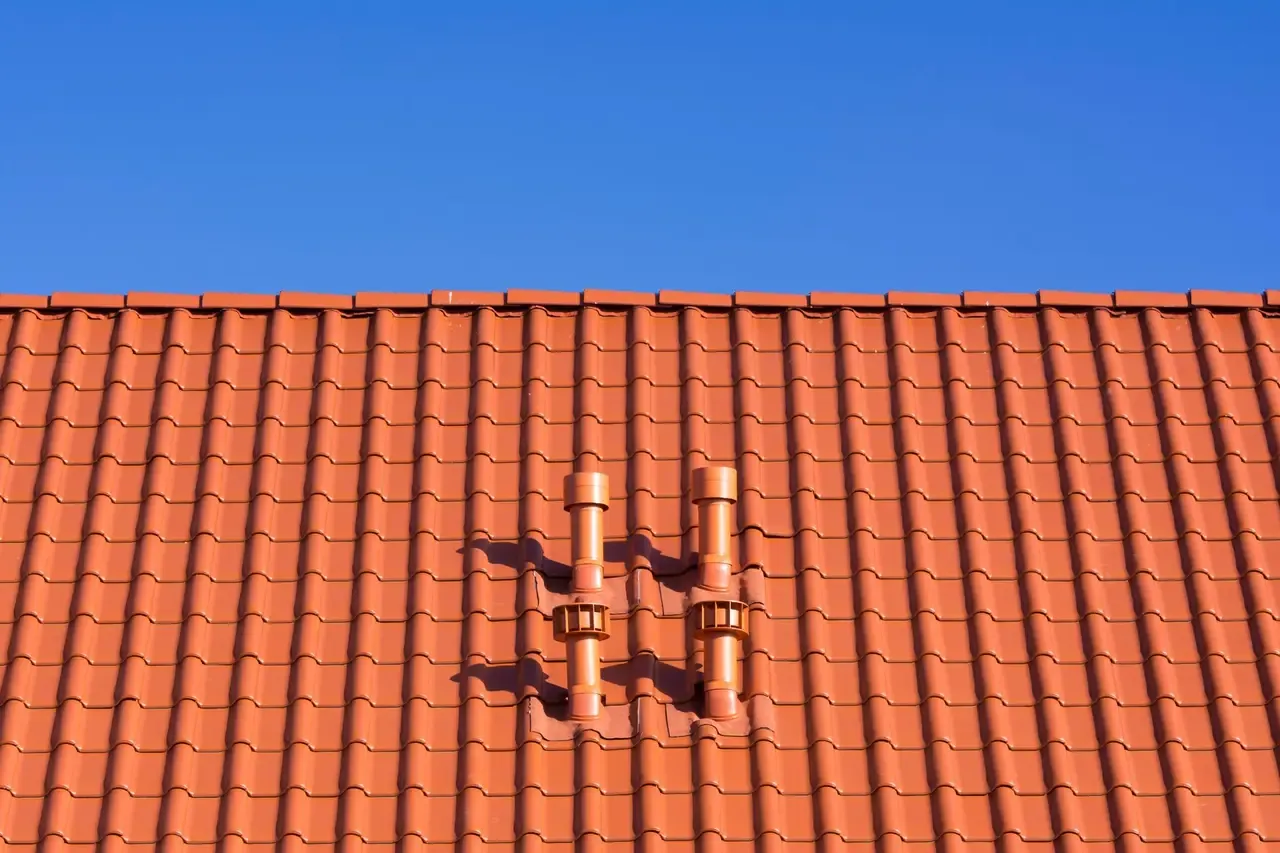
Metal roofing panels, tile, and asphalt shingles need different flashing details. We shape and position the repair to suit the surface and water flow, including roof valleys and wall transitions. For Tomball homeowners seeking affordable flashing repair in Tomball, Texas, the right-sized repair avoids replacing sound roofing unnecessarily.
Clear records you can keep and share.
Images of visible conditions and repaired transition
Description of materials removed and installed
Observed adjacent roof conditions
Confirmation of debris removal from work area
A ceiling mark shows where water appeared, not always where it entered; tracing the path determines the right repair.
Sealant covers a visible gap without rebuilding the flashing layers.
Failed components are removed and integrated with nearby roofing.
Additional roof materials are repaired when damage extends beyond flashing.
A list like this tells people straight away whether you cover their street. Not listed? Call and ask: it only takes a minute.
Based in Tomball and covering the places around it. Pick one for local details.
Typical 2026 pricing in Tomball depends on roof height, flashing type, access, and whether shingles or decking need replacement. We inspect the transition and explain the work before starting; upfront pricing reflects the actual repair area, not simply the indoor stain.
Most localized flashing repairs take two to four hours, while complex chimney or multi-transition work can take a full day. Roof height, weather, brittle shingles, and concealed decking damage affect the schedule. We explain the repair sequence, protect the work area, and check the finished overlap before cleanup. Wet or unsafe roof conditions can postpone permanent work until access is safe.
Choose a Tomball roofer who traces the leak, explains the flashing detail, and checks nearby roofing before recommending replacement. Ask how the repair will overlap the underlayment, what happens if damaged decking appears, and whether the proposal identifies materials and work area. We answer those questions directly and show you the visible condition so you can judge whether the recommended repair fits your roof.
Chimney flashing usually leaks because a lap has opened, counterflashing has separated, sealant has failed, or nearby shingles and underlayment are damaged. Wind-driven rain can push water through a small gap, and the indoor stain may appear away from the chimney. We inspect step flashing, counterflashing, roof surface, and accessible attic framing to locate the entry before repairing the transition.
Other services from the same team.
A ceiling stain or active chimney leak needs a clear diagnosis before the next rain. Call Tomball Roofing Experts at (877) 791-3217 to arrange a roof inspection; our team will explain the repair and the water path we find.
Call (877) 791-3217 to discuss roof replacement, roof repair, a leak, or storm damage at your Tomball property. Our phone team can hear the details and connect your request with an independent roofing company. Contact us during regular business hours, Monday through Friday, 8 a.m. to 6 p.m.; for active water entry, describe where it is happening when you call.