For Homes
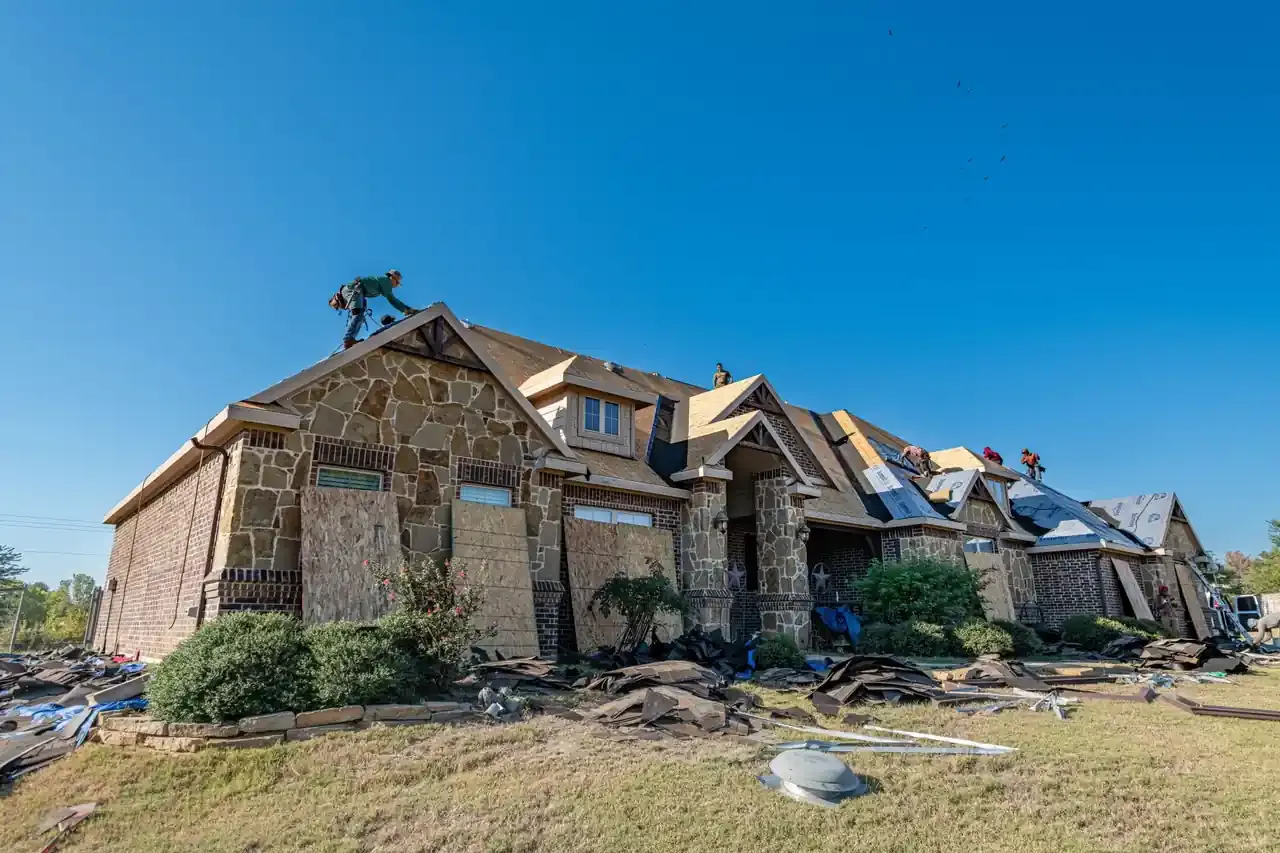
A leaking roof vent can stain ceilings, dampen insulation, or leave your attic stuffy. We inspect the opening and explain the repair in clear terms.
- Ceiling stain after heavy rain
- Loose vent cap after wind
- Musty or damp attic
Roof vent installation and repair Tomball TX helps homeowners and property managers address attic heat, moisture, damaged vents, and leaks before they affect roof decking or ceilings. We inspect the vent, surrounding shingles, flashing, and attic airflow, then explain the repair or replacement needed. Choose Tomball Roofing Experts for roof vent installation and repair in Tomball, Texas, when a vent is loose, leaking, blocked, or no longer suited to your roof.
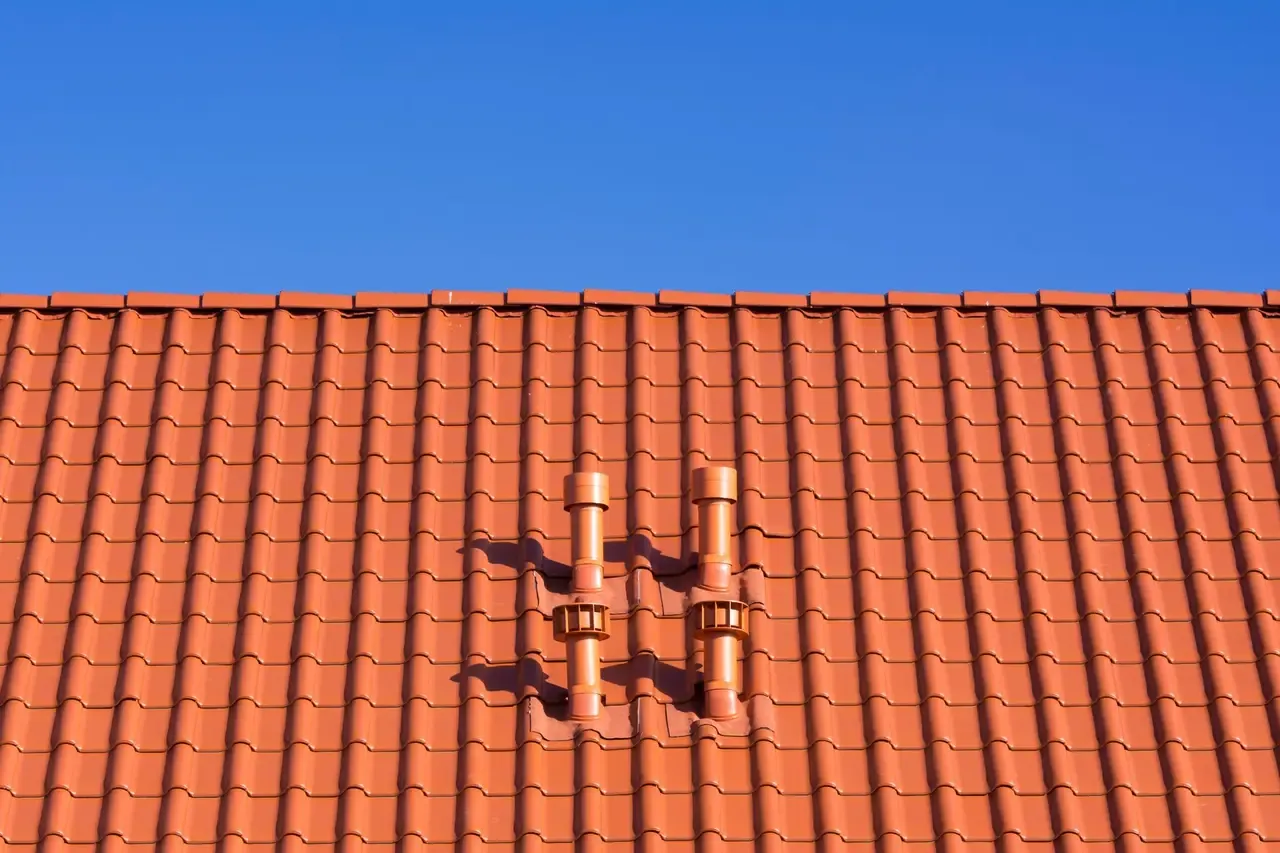 Vent inspectionFlashing checkAttic airflow
Our service covers inspection, repair, or replacement of roof vents and the immediate waterproofing around them. We check surrounding roofing and attic conditions so the repair fits the actual failure. Structural decking replacement, broad ventilation redesign, and unrelated roof repairs are additional work when inspection shows they are needed; we explain those findings before proceeding.
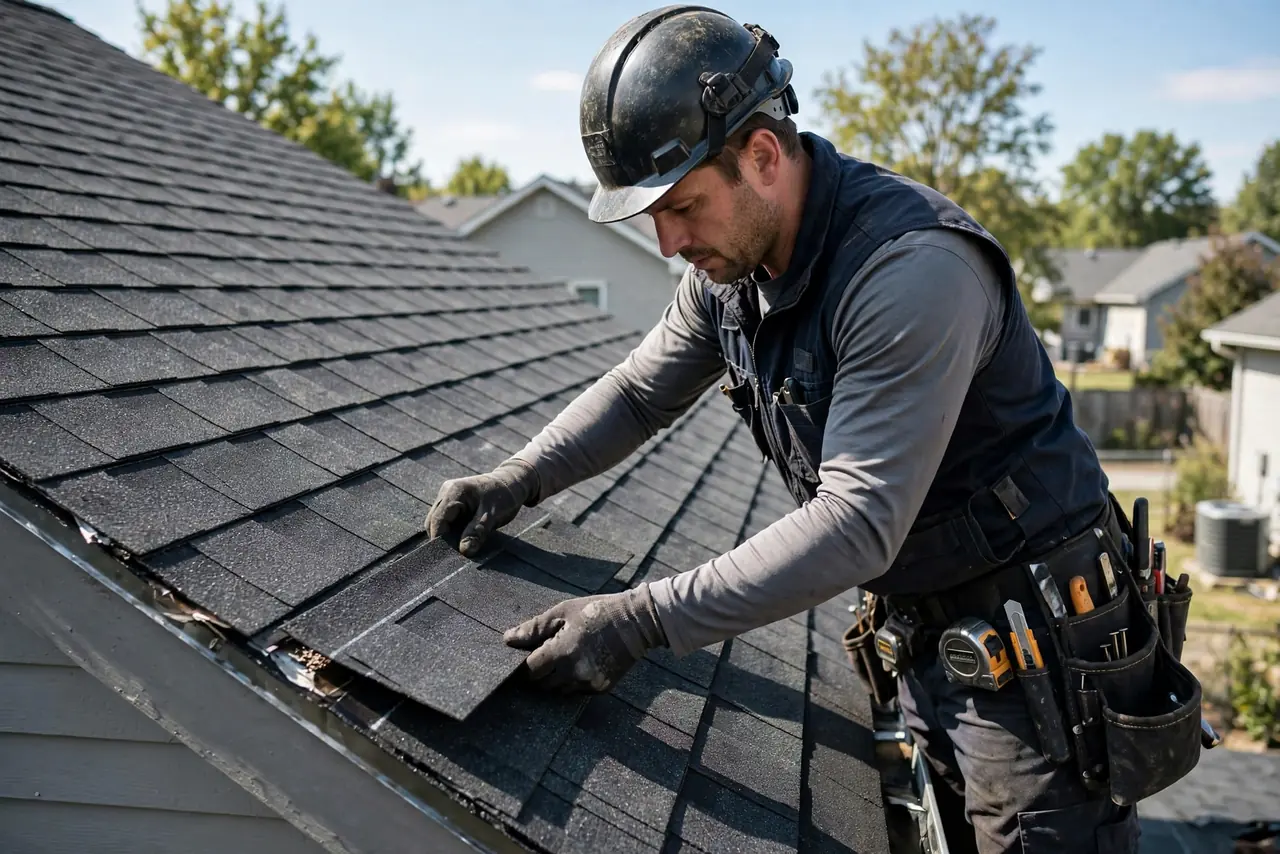
We inspect the vent body, fasteners, flashing, surrounding roof surface, and attic side where accessible. This helps separate a failed seal from a broader leak or ventilation problem before materials are removed.
We replace or secure damaged caps, collars, fasteners, and flashing as the roof requires. The repair is tied into nearby shingles or panels so water can drain across the finished surface.
For a new opening, we confirm its position and compatibility with the roof assembly before cutting or lifting roofing. We install the vent, integrate its flashing, and check the surrounding weather barrier.
We look for soft decking, wet underlayment, cracked shingles, or signs of water travel around the opening. If concealed damage extends beyond the vent, we explain the added repair needed to restore a sound base.
After the repair, we inspect fasteners, flashing edges, and the surrounding roof surface, then show you what changed. We also explain any ventilation or moisture issue that should be monitored.
The approach is the same for a home and a business. What changes is the access, the schedule and who needs the paperwork.
A leaking roof vent can stain ceilings, dampen insulation, or leave your attic stuffy. We inspect the opening and explain the repair in clear terms.
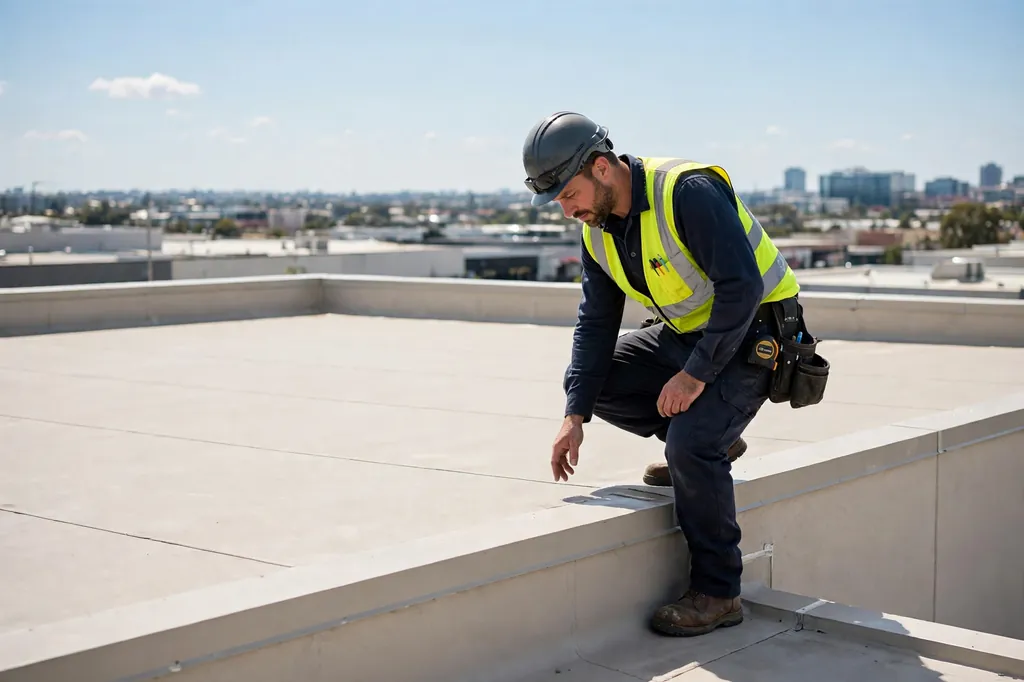
A failed roof penetration can interrupt building operations and expose interior materials to water. We inspect the vent detail and coordinate the repair around roof access.
A plain-language look at what Roof Vent Installation & Repair involves and when it is needed.
See how it worksroof vent installation and repair Tomball TX is a roofing service that installs, seals, or restores roof openings that move attic air and protect the roof from water entry. We check the vent type, roof pitch, surrounding shingles, flashing, and attic intake before recommending work. A damaged vent can admit rain even when the roof field looks sound; poor airflow can also leave warm, damp air trapped above the ceiling. We match the repair to the roof assembly rather than covering a leak with sealant alone.
Tomball homes face humid conditions, heavy rain, and occasional hail or wind that can loosen vent fasteners and crack seals. Our crew checks for roof leaks, missing shingles, flashing leaks, and moisture around the opening, then confirms whether the existing ventilation layout is balanced. For a damaged cap or active leak, affordable roof vent repair in Tomball, Texas can address the entry point without replacing sound roofing. We also explain when a vent change belongs with broader roof work.
A sound vent opening moves attic air while keeping rain out through correctly integrated flashing.
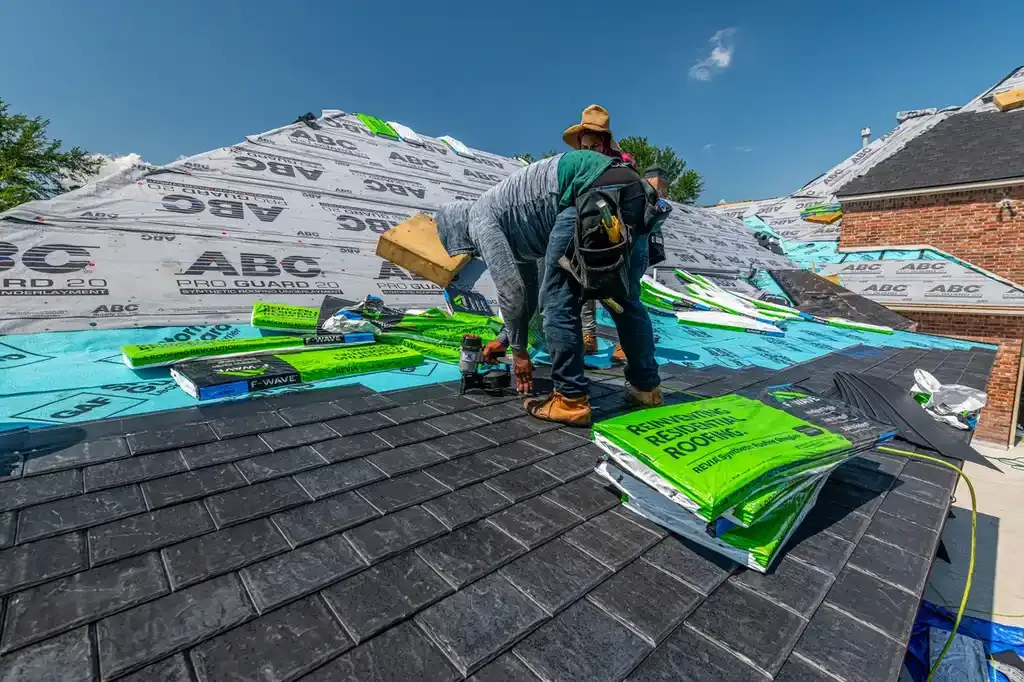
Roof vent installation and repair in Tomball follows a clear sequence: inspect the roof and attic, identify the right fix, protect the work area, complete the repair, and check the finished opening. We explain each step in plain language.
We begin by asking when you noticed the leak, attic odor, or airflow change, then inspect the vent from outside and inside where access allows. We check shingles, flashing, fasteners, and nearby roof decking; a moisture meter helps locate damp material. This first visit commonly takes 30 to 60 minutes, depending on roof access and the number of vents.

We identify whether the vent needs a new seal, replacement flashing, a complete vent swap, or a ventilation adjustment. You see the affected area and hear why the proposed fix suits your roof. If the opening sits beside cracked shingles or a roof valley, we include those related conditions in the repair plan rather than treating the vent in isolation.
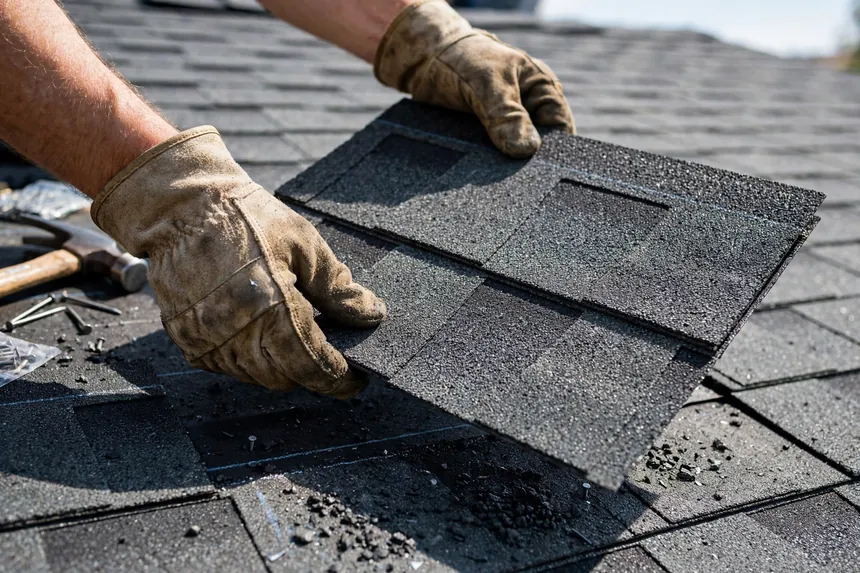
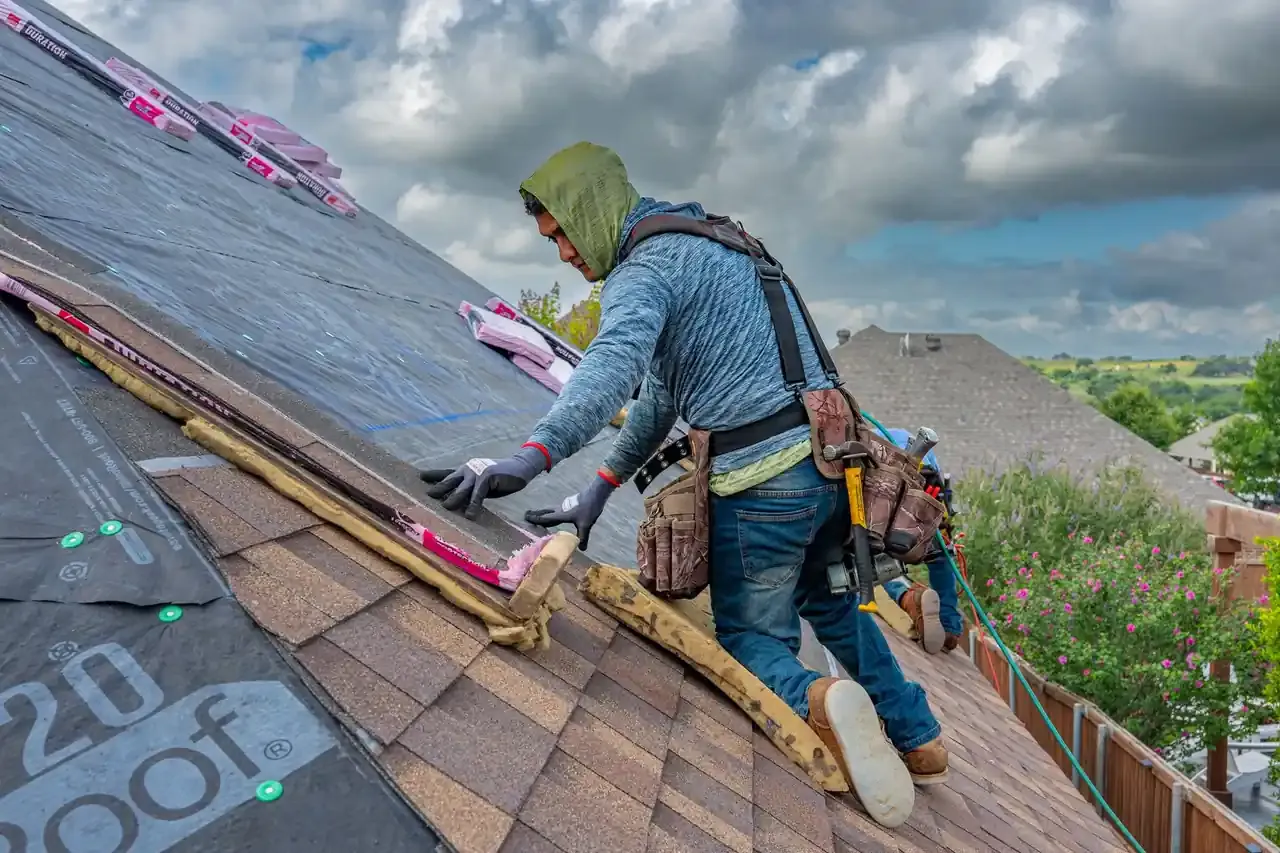
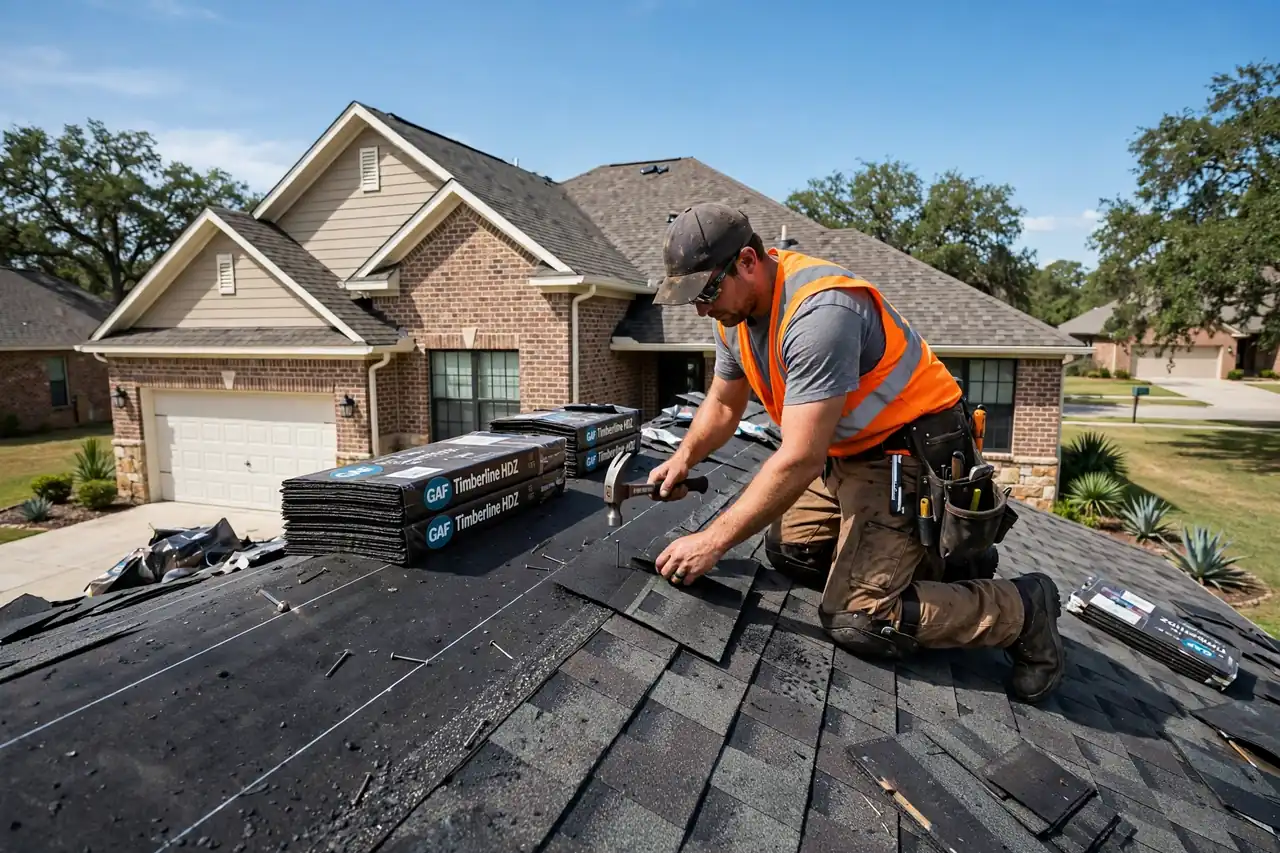
Before work, we set a roofing ladder and fall protection harness, protect the ground below, and stage the right tools. A shingle ripper or pry bar lifts roofing carefully; a roofing hammer and utility knife help remove and fit materials. The setup keeps debris controlled and limits disturbance to sound roof sections.
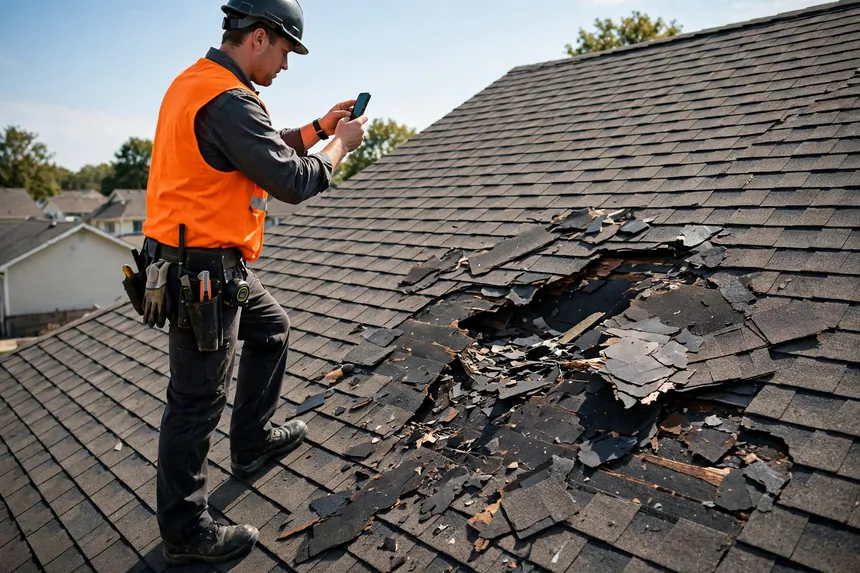
We remove the failed vent or damaged flashing, inspect the exposed roof decking, and replace unsound components where needed. The new vent is aligned, fastened, and integrated with roof underlayment and surrounding shingles or panels. Many straightforward repairs take two to four hours; more extensive deck or flashing work takes longer.
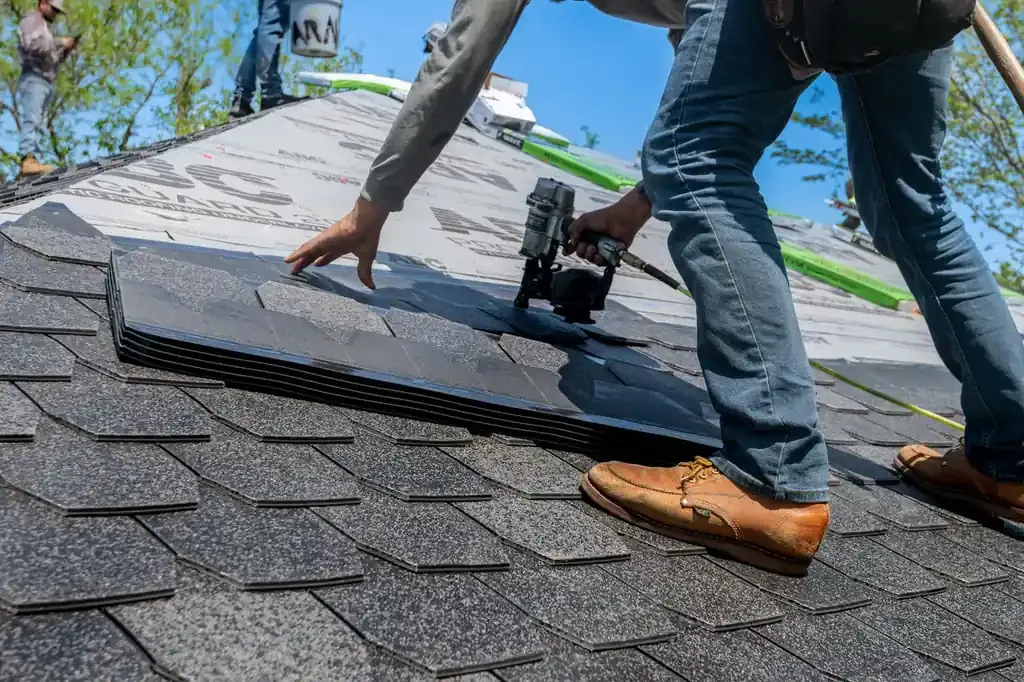
We check the finished vent, fasteners, flashing edges, and adjacent roofing, then clear the work area. We show you the completed opening and note any related issues found during the job, such as blocked intake or attic water damage. You leave with practical guidance on what to monitor after the next heavy rain.
Move across a circle, or focus it and press Enter, for an illustrative thermal view of the photograph.
We use it to check suspicious decking or framing for elevated moisture, helping distinguish a dry stain from an area that still needs attention.
This tool lifts shingles around a vent with controlled access, allowing us to reach flashing while limiting disturbance to sound roofing.
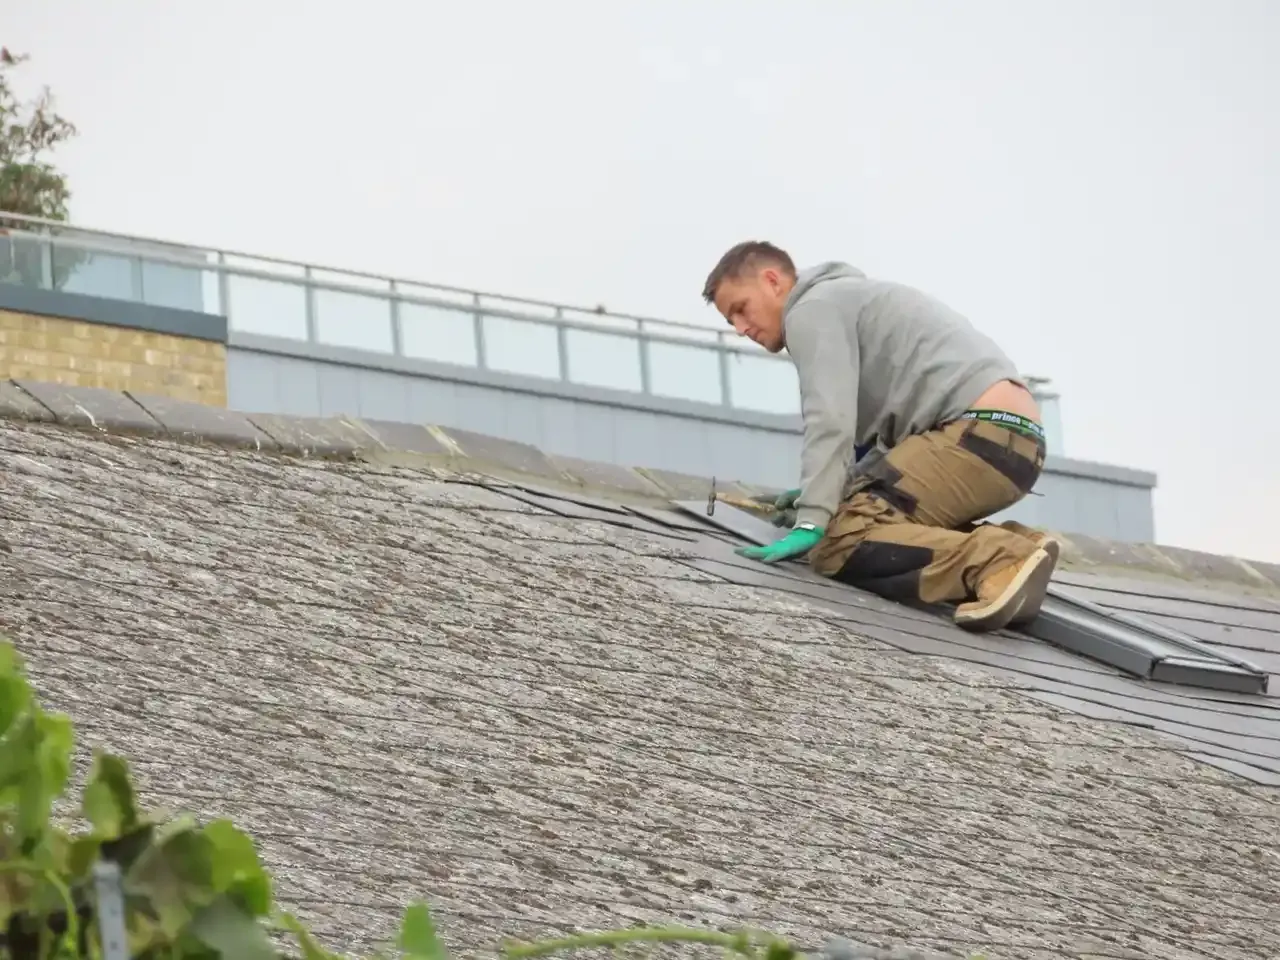
We use it to remove or set roofing fasteners and secure replacement materials without leaving raised nail heads around the penetration.
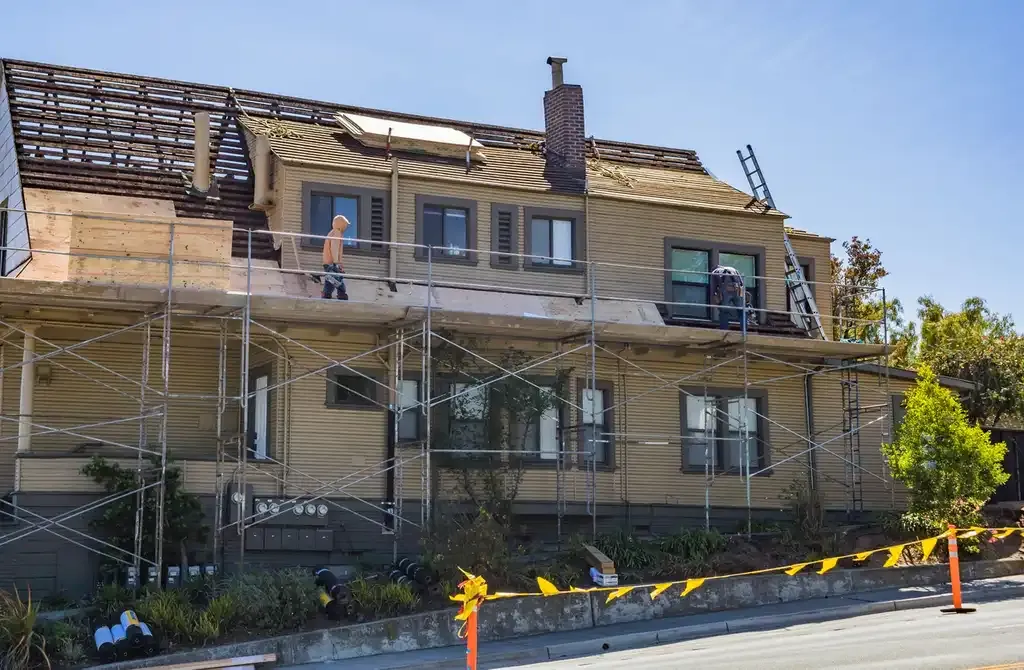
Tin snips shape compatible metal flashing around vent edges, helping the finished detail fit the roof surface and shed water.
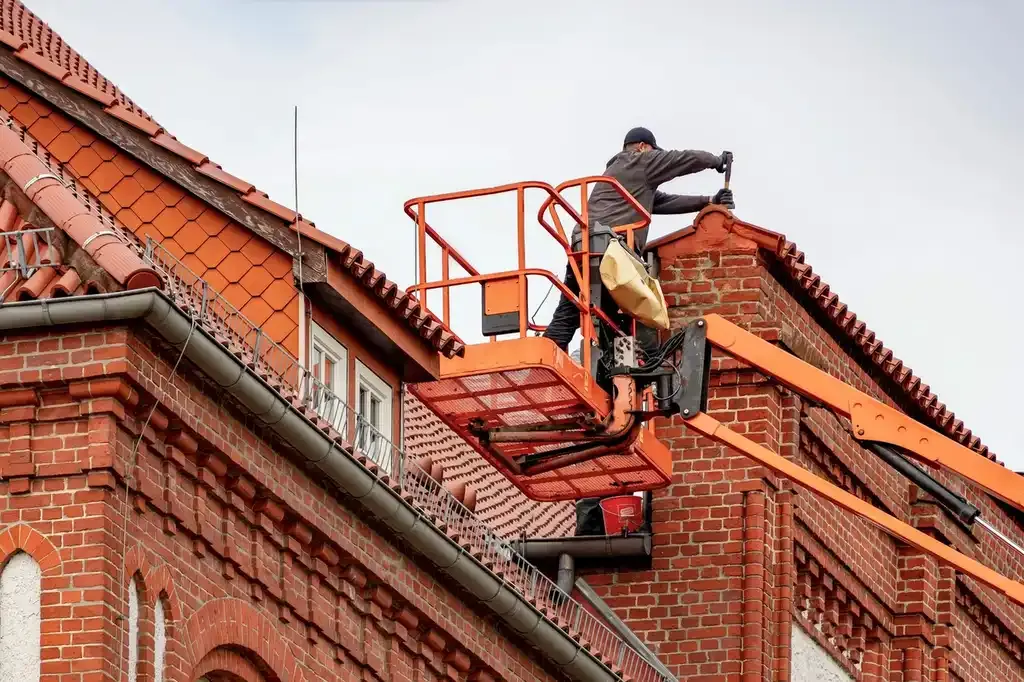
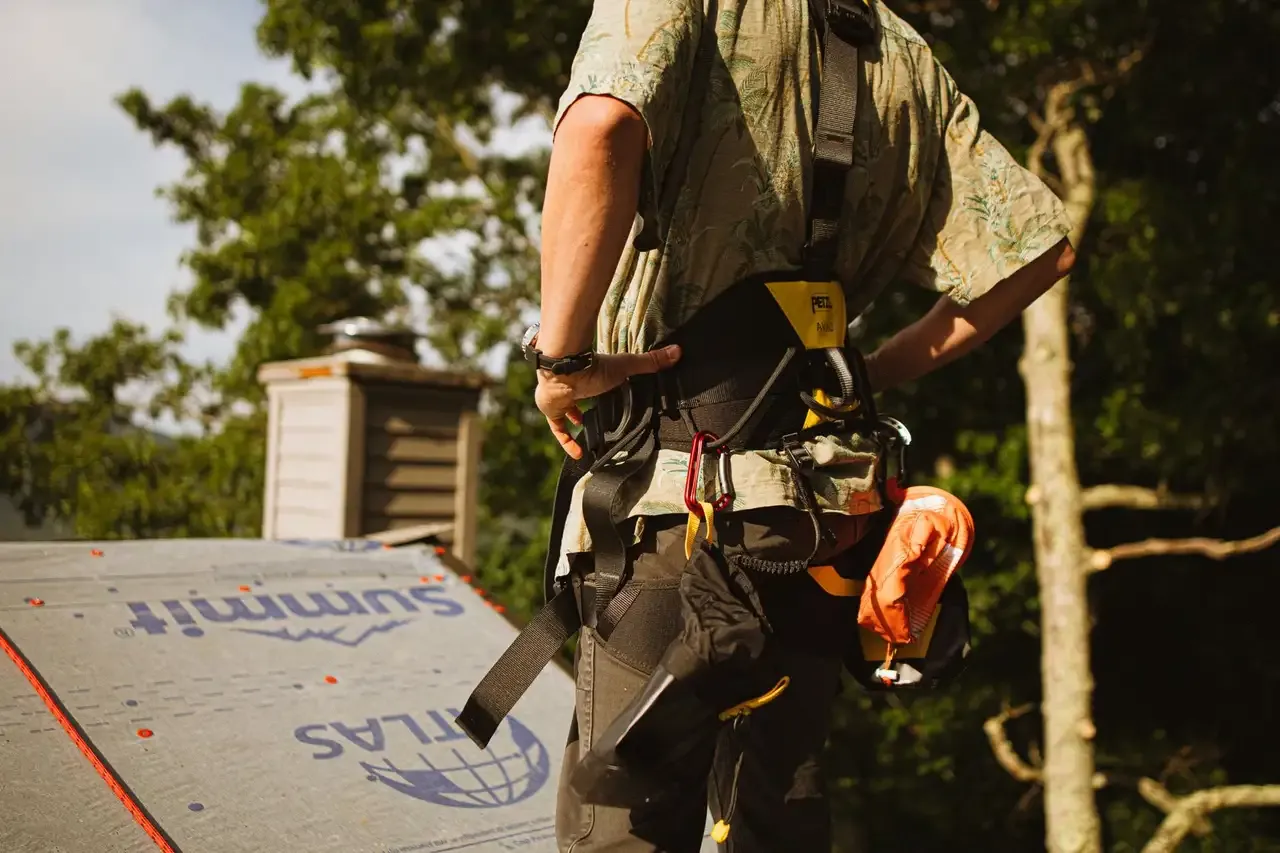
We use fall protection when roof access and conditions require it, securing the work area before handling tools or materials at height.
Thermal views are illustrative, generated from the photographs.
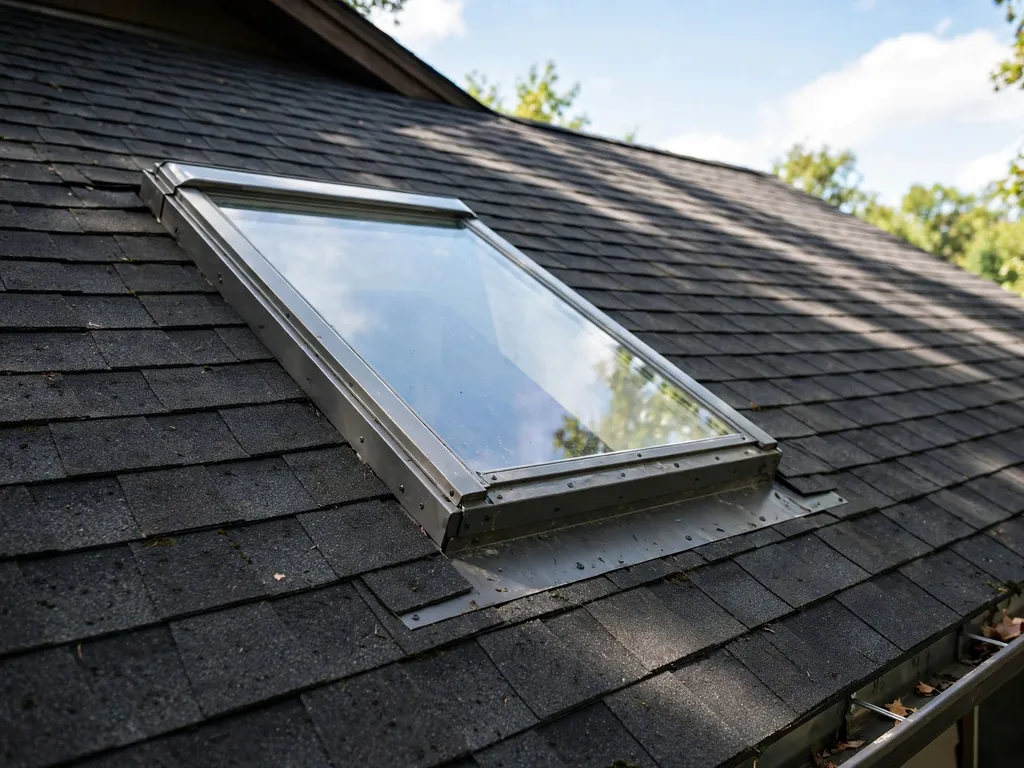
We install flashing so upper roof layers shed water over the lower layers, rather than relying on exposed sealant as the main barrier. Shingles or panels are returned in the correct sequence around the vent, and the completed edges are checked for gaps or lifted material.
We assess roof exhaust alongside available soffit intake before adding or changing vents. The review considers the attic's existing openings and visible obstructions, helping prevent a new exhaust vent from being installed without a workable air supply.
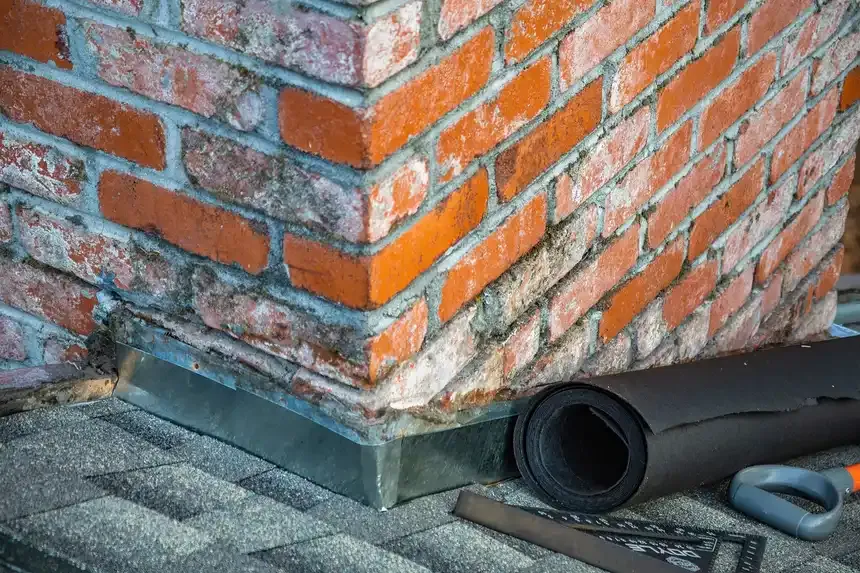
We compare the ceiling stain, attic moisture, and roof surface to follow the water path toward its entry point. This method helps distinguish vent flashing failure from nearby roof valley leaks, chimney leaks, or damaged shingles before repairs begin.
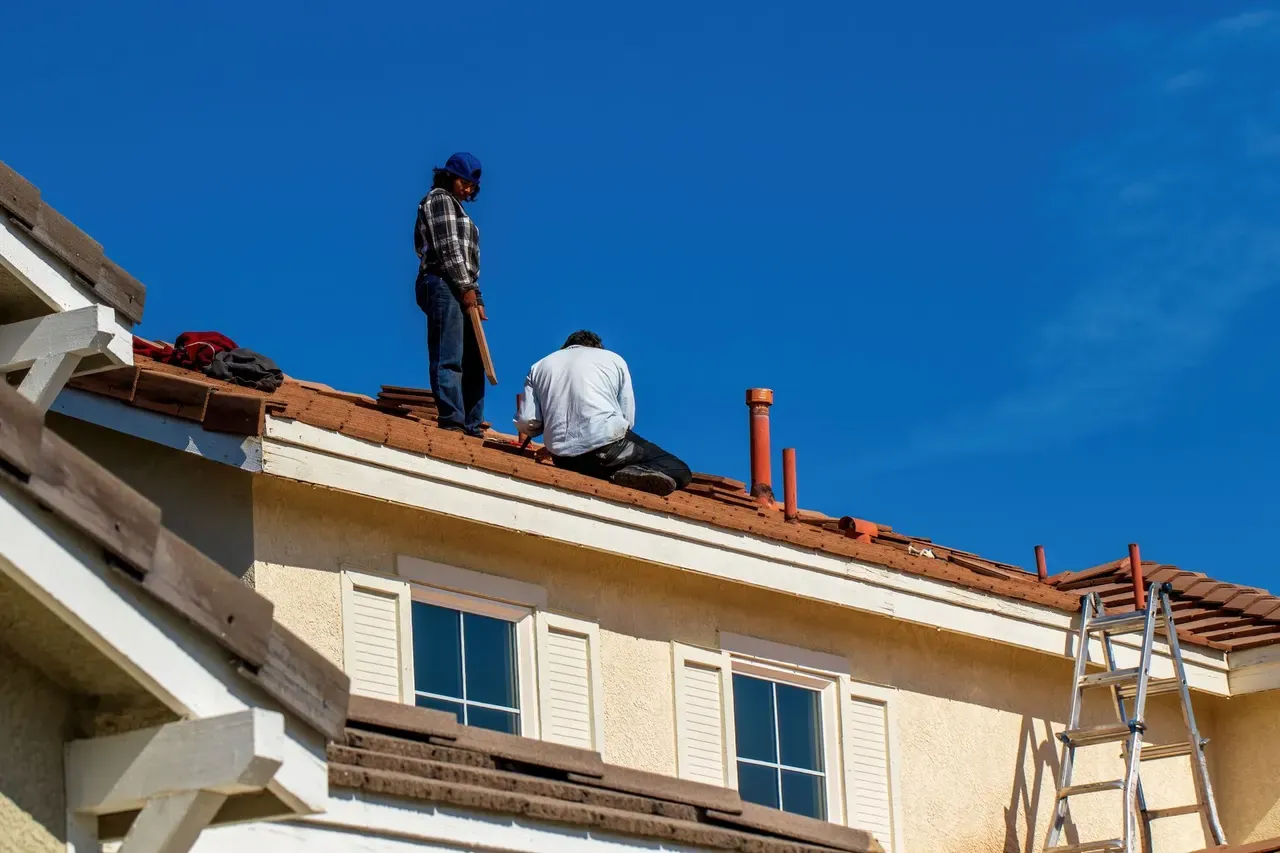
A ceiling stain appears below a roof vent after several days of Tomball rain.
We inspect the attic framing and roof opening to trace where water entered. Our crew checks the vent collar, flashing, nearby shingles, and underlayment, then repairs the failed layer. If the roof decking is soft, we address the damaged section before reinstalling the vent.
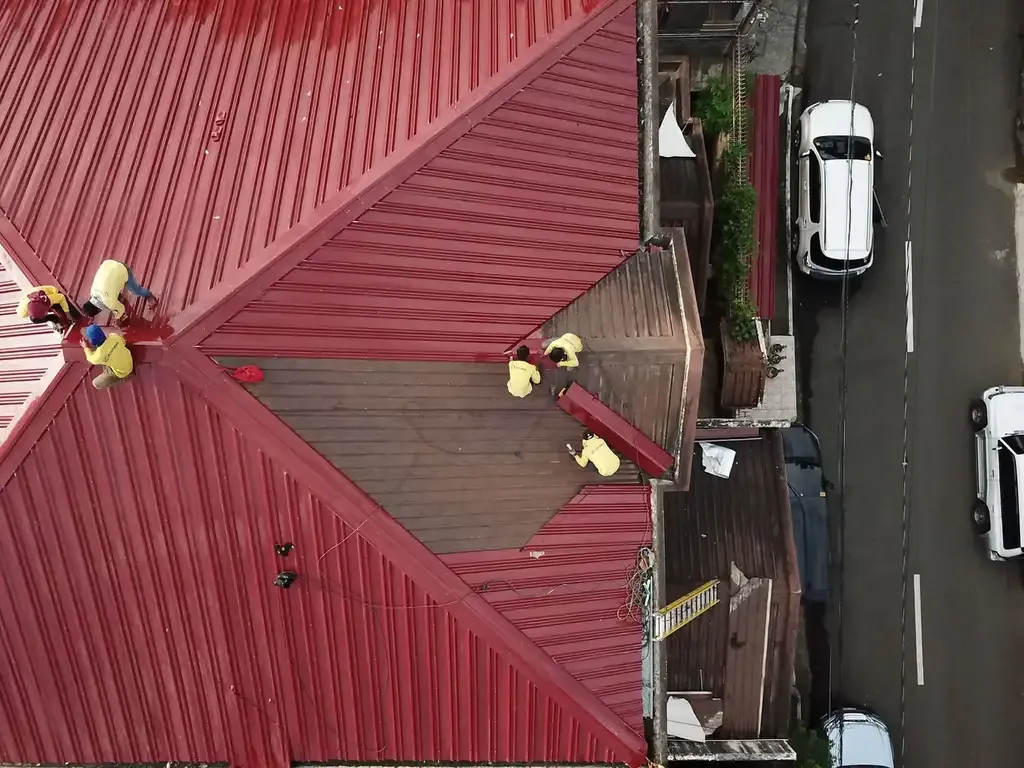
A vent cap is tilted or rattles after a windstorm in Northpointe.
We check whether the cap, fasteners, or surrounding roof materials shifted. We secure or replace the affected components, inspect for wind damage nearby, and restore flashing so the opening sheds rain. You see the repaired area and know what was changed.
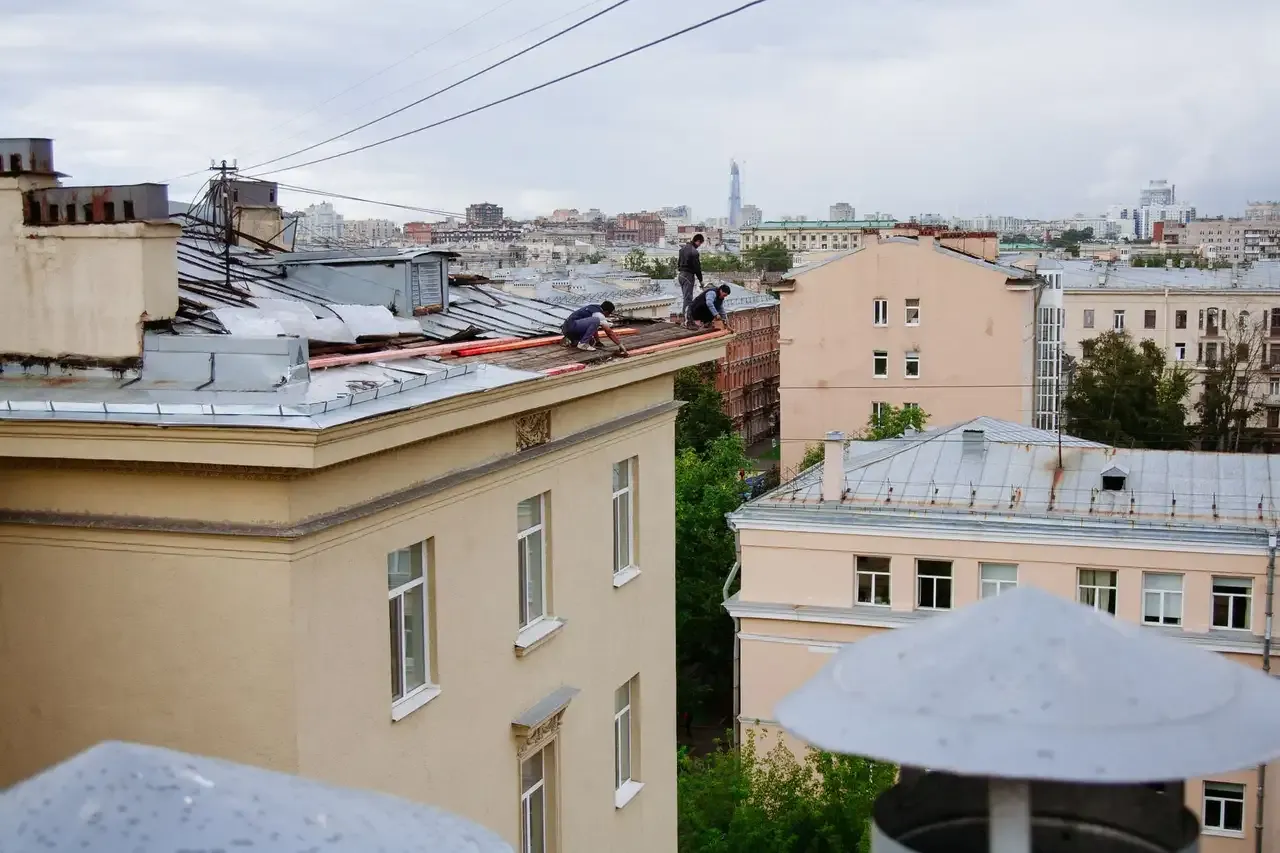
A planned roof project reveals old vents with brittle seals and worn flashing.
We review each penetration while the roof work exposes its edges. If a vent no longer fits the roof assembly, we replace it and integrate new flashing with the surrounding roofing layers. This avoids leaving an old weak point beneath otherwise sound work.

Attic moisture persists even though no leak is visible from the rooms below.
We inspect the vent arrangement and intake openings, looking for blocked airflow and condensation clues. We repair damaged exhaust vents and explain whether intake or ventilation balance also needs correction. The plan is based on the attic layout rather than simply adding another roof opening.
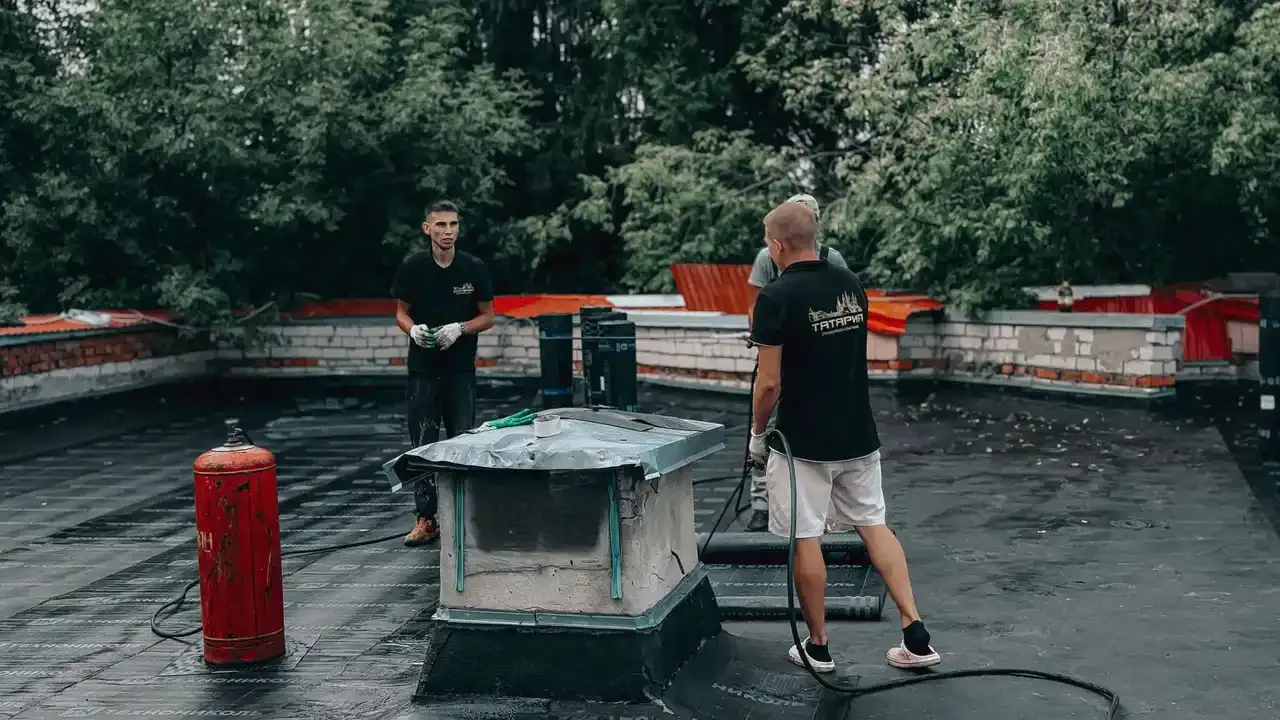
Roof vent installation and repair in Tomball must handle humid air, intense rain, and roofs exposed to seasonal wind and hail. We inspect the vent and its nearby shingles or panels, then look at attic intake so the exhaust opening is doing useful work.
Homes in Old Town Tomball and newer subdivisions can have different roof pitches, attic access, and material details, so we adapt the repair to the assembly rather than use one detail everywhere. For a vent leak, we check roof decking and underlayment before closing the opening. Where applicable, our work follows manufacturer instructions and relevant IBC and IRC requirements.
We also consider Harris County conditions when assessing drainage and wind-driven rain. If you need roof vent installation and repair cost in Tomball TX, the main variables are roof height, material, vent design, access, and concealed damage. We explain the work and upfront price before starting.
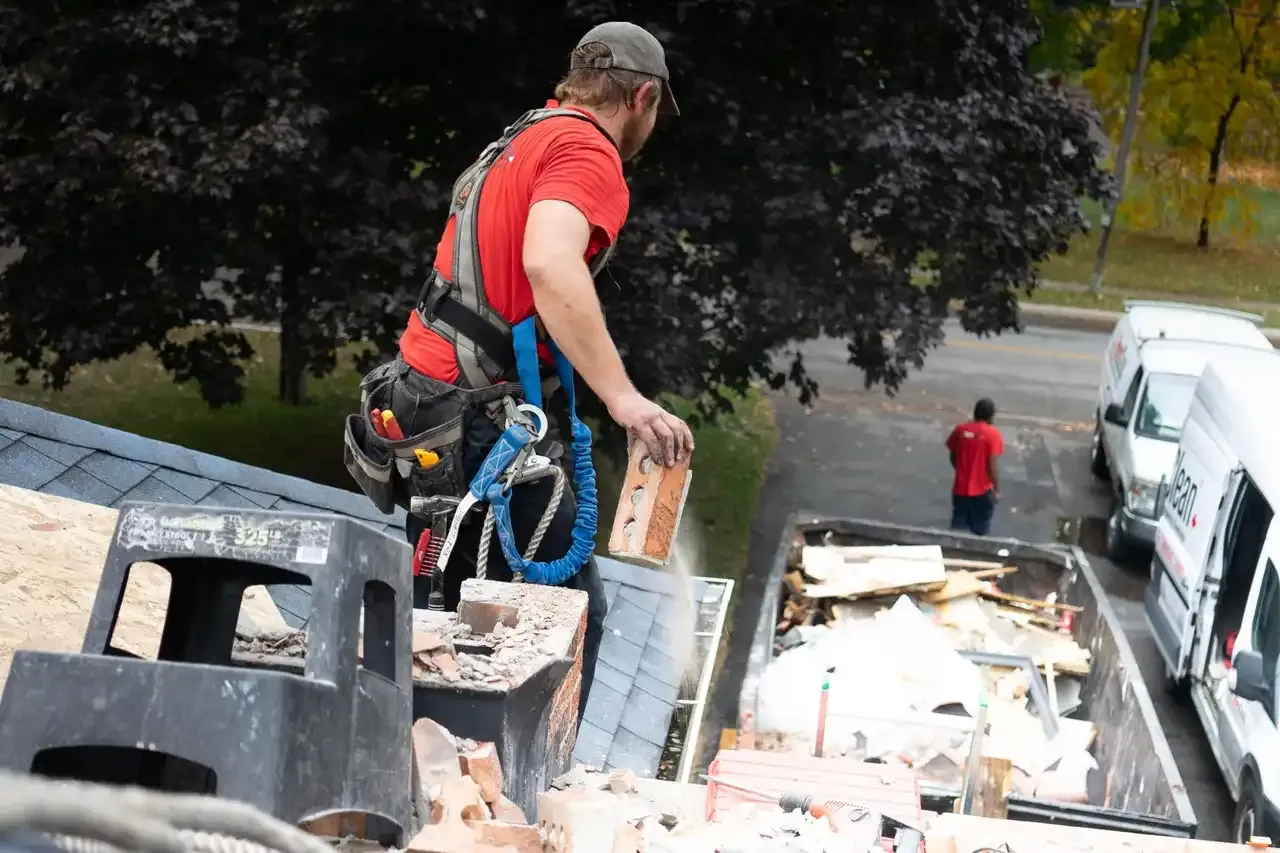
Before: A Tomball homeowner noticed a ceiling stain after heavy rain. The vent collar had split, and moisture was visible on the roof decking beside the opening. The shingles around it remained mostly serviceable, but water was passing beneath the flashing and following a rafter toward the ceiling.
After: We replaced the failed collar, repaired the affected flashing, and restored the surrounding shingles. The repair covered one vent opening and took about three hours, including inspection and cleanup. The attic-side area was checked before we closed the roof, and the customer could see the completed flashing detail.
Check the ceiling below the vent after the next heavy rain and look for new discoloration. Keep the roof opening clear of debris and schedule an inspection if the cap shifts or a stain returns.
Before: A vent cap rattled during gusts in Northpointe, and one edge sat higher than the other. Two fasteners had loosened, leaving small gaps around the base. A nearby shingle was lifted, so rain could enter both through the vent edge and the disturbed roof surface.
After: We reset the cap, replaced damaged fasteners, and repaired the lifted shingle and flashing transition. The work took roughly two and a half hours for one accessible vent. A final check confirmed the cap was seated evenly and the surrounding roof layers lay flat.
Look for visible cap movement from the ground after strong winds. If the vent rattles again or nearby shingles lift, arrange an inspection before the next period of heavy rain.
Before: A homeowner reported a stuffy attic and musty odor despite having roof exhaust vents. Inspection found one damaged vent and debris restricting part of the soffit intake. The exhaust opening alone could not correct the airflow imbalance, and moisture had begun to mark the underside of the roof decking.
After: We replaced the damaged vent, cleared the accessible intake obstruction, and reviewed airflow across the attic. The repair involved one roof opening and a separate intake check, completed in about four hours. The homeowner received a clear explanation of the remaining areas to monitor.
Keep soffit openings clear during routine exterior care and check the attic for persistent dampness or odors. Have the vent and intake reviewed if those signs return.
A failed roof vent can cause a leak, trap attic moisture, or disrupt the airflow your roof needs. Affordable roof vent repair in Tomball, Texas starts by identifying which failure is present and how far it has affected the surrounding materials.
A properly repaired vent helps keep rain out and attic air moving.
A leaking or poorly sealed vent can leave damp insulation, roof decking, and ceiling stains behind. We trace the water path, replace compromised flashing or components, and seal the penetration with roofing materials suited to the surface. You get a repair aimed at the source, not a bead of sealant hiding a wider problem.
Ventilation works as a system: exhaust at the roof needs compatible intake at the eaves. We inspect the existing layout and identify blocked or undersized openings before adding a vent. The goal is more consistent airflow, not simply more holes in your roof.
Loose fasteners and cracked vent collars expose nearby shingles and roof decking to water. We lift only the roofing needed to reach the opening, replace damaged parts, and restore the surrounding layers. Our roof vent services Tomball residents request are matched to asphalt shingles, metal, or other existing roof surfaces.
A stain around a vent often appears after water has travelled along framing or underlayment. During an inspection, we use a moisture meter where appropriate and check the attic side as well as the roof surface. Finding the path early helps limit the area of repair.
Clear records you can keep and share.
Images of the affected opening and completed repair.
A brief record of repairs completed at the vent.
Details of vent and flashing components used.
Observed nearby roofing or airflow concerns.
A damaged vent needs a repair; an airflow concern needs the whole intake and exhaust path reviewed.
Corrects a failed vent or flashing detail.
Adds or replaces a roof opening for exhaust.
Checks exhaust alongside available attic intake.
A list like this tells people straight away whether you cover their street. Not listed? Call and ask: it only takes a minute.
Based in Tomball and covering the places around it. Pick one for local details.
Typical 2026 pricing depends on roof material, access, vent type, and whether flashing or roof decking needs replacement. We inspect the opening and explain the price before work proceeds. Multiple vents or extensive water damage increase labor and materials; a sound roof with one accessible vent usually keeps the job simpler.
Most single-vent repairs take about two to four hours, while a more involved installation can take four to six hours. Roof pitch, material, weather, and hidden roof decking damage affect the duration. We first trace the leak and inspect the opening, then complete the repair and check the surrounding roof. If several vents need work, we explain the added steps and expected schedule before beginning.
Choose a Tomball roof vent company that inspects the attic side, roof surface, flashing, and ventilation balance before recommending work. Ask how the crew will protect surrounding shingles, handle damaged decking, and verify the finished opening. We walk you through those details and connect vent repairs to roof repair when the surrounding material is also failing. A clear diagnosis is more useful than a broad promise.
Same-day service is possible for some accessible vent repairs when materials and safe working conditions align. Call (877) 791-3217 and describe the leak, roof type, and number of affected vents so we can assess the request. Active water entry may need temporary protection first, followed by a complete repair. A full installation involving decking or multiple roof penetrations can require more planning than a simple vent swap.
Other services from the same team.
Stop a loose vent or active roof leak before more water reaches the attic. Call Tomball Roofing Experts at (877) 791-3217 to describe the problem and arrange an inspection. We explain the repair and its upfront price before starting the work.
Call (877) 791-3217 to discuss roof replacement, roof repair, a leak, or storm damage at your Tomball property. Our phone team can hear the details and connect your request with an independent roofing company. Contact us during regular business hours, Monday through Friday, 8 a.m. to 6 p.m.; for active water entry, describe where it is happening when you call.