Chimney flashing and repair Tomball TX for dry roofs
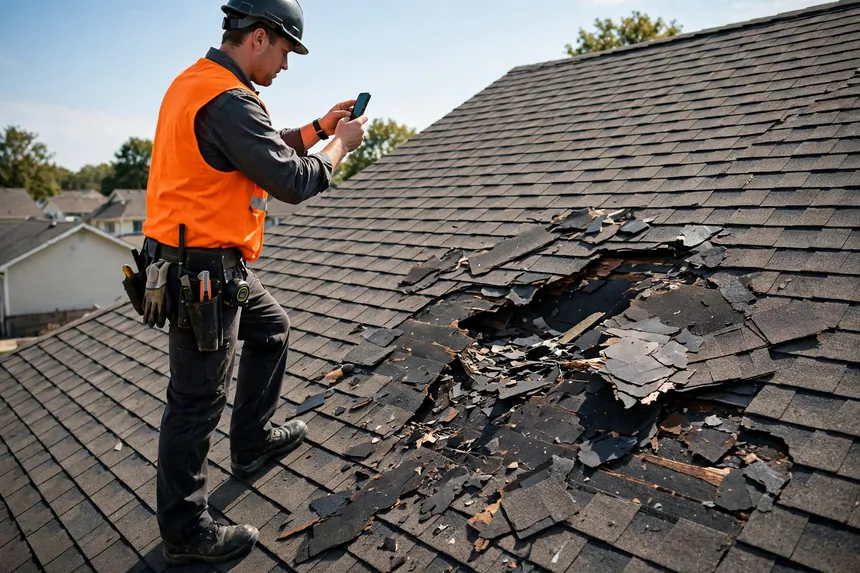
Chimney flashing and repair Tomball TX protects the vulnerable joint where your chimney meets the roof, helping homeowners and property managers stop leaks before water reaches ceilings or roof decking. We inspect the counterflashing, base flashing, shingles, and nearby masonry, then explain the repair needed. Our chimney flashing and repair in Tomball, Texas addresses storm wear, failed sealant, and flashing pulled loose by roof movement.
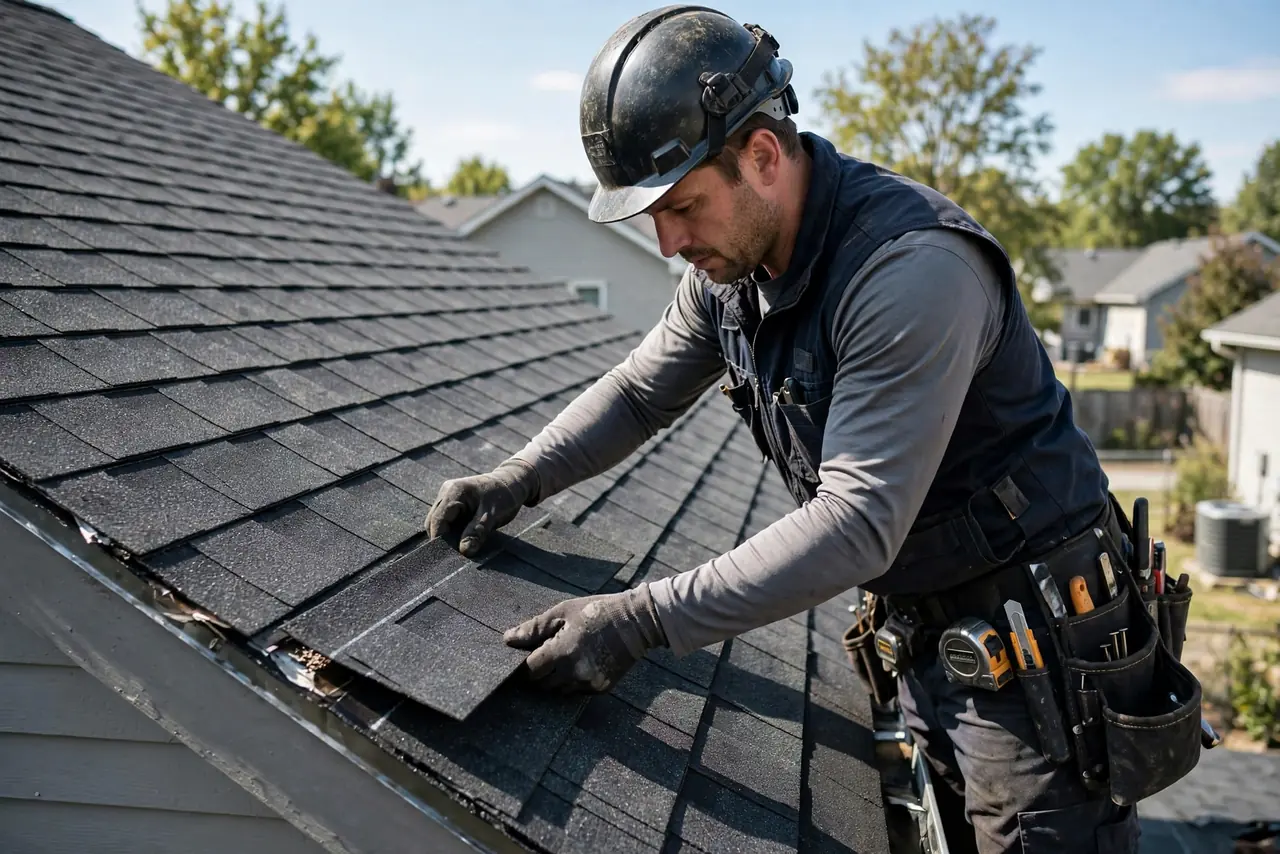
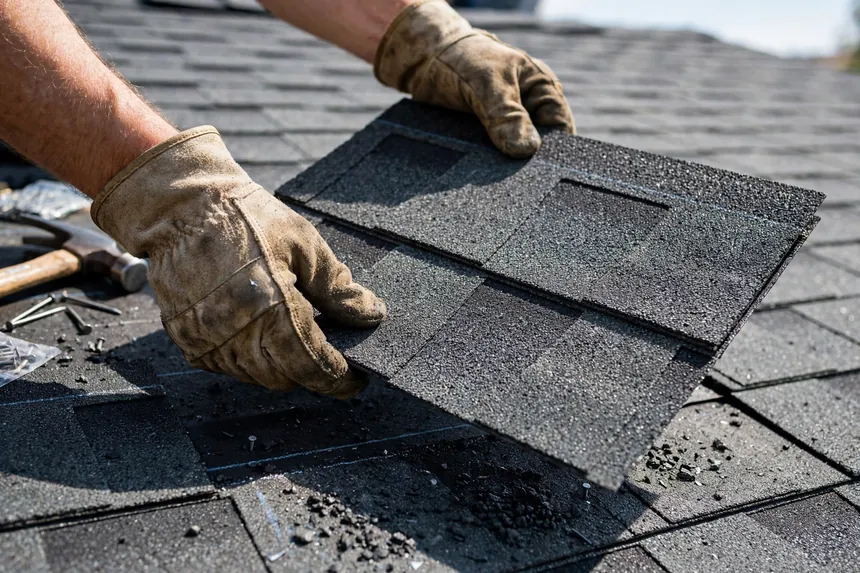
Protect roof surfaceWe limit disturbance around the repair.
Explain the layersWe show how flashing sheds water.
Clear the work areaWe remove loose repair debris.
What chimney flashing repair includes
Our service covers the inspection and repair of the roof-to-chimney transition, including accessible flashing, adjacent shingles, and the immediate underlayment or decking affected by the leak. We identify visible damage and explain the repair before starting. If inspection reveals extensive masonry work or damage beyond the chimney area, we describe the additional work needed so you understand how it relates to stopping water entry.
Flashing condition check
We inspect the base, step, and counterflashing for gaps, rust, loose edges, and poor overlaps. The check includes the uphill side and chimney corners, where roof runoff places extra demand on the metal transition.
Nearby roof inspection
We check shingles or other roofing beside the chimney for lifting, cracks, and water entry paths. If the roof covering is damaged, we explain how it connects to the flashing leak before recommending related repair.
Damaged metal repair
We reset, patch, or replace affected flashing as the roof assembly requires. Replacement metal is shaped to fit the chimney profile and layered to direct water onto the roof surface.
Roof layer restoration
We restore disturbed shingles and inspect accessible underlayment and roof decking. If moisture has softened wood, we identify the affected area and explain the necessary repair before closing the roof.
Final work review
We check the repaired edges, fasteners, and runoff direction, then show you the completed area. You receive a plain account of the work performed and any condition that should be watched.
Homes and businesses.
The approach is the same for a home and a business. What changes is the access, the schedule and who needs the paperwork.
For homes
A chimney leak can stain ceilings, dampen attic insulation, or damage shingles around your home. We explain the roof entry point and repair sequence in plain terms.
Ceiling stains near chimney
Damp attic insulation
Loose flashing after wind
For properties
A roof leak can disrupt tenants, operations, or building maintenance plans. We inspect the chimney transition and explain the repair needed for your roof system.
Recurring roof leaks
Chimney flashing deterioration
Wet materials near roof opening
Chimney flashing and repair Tomball TX
A plain-language look at what Chimney Flashing & Repair involves and when it is needed.
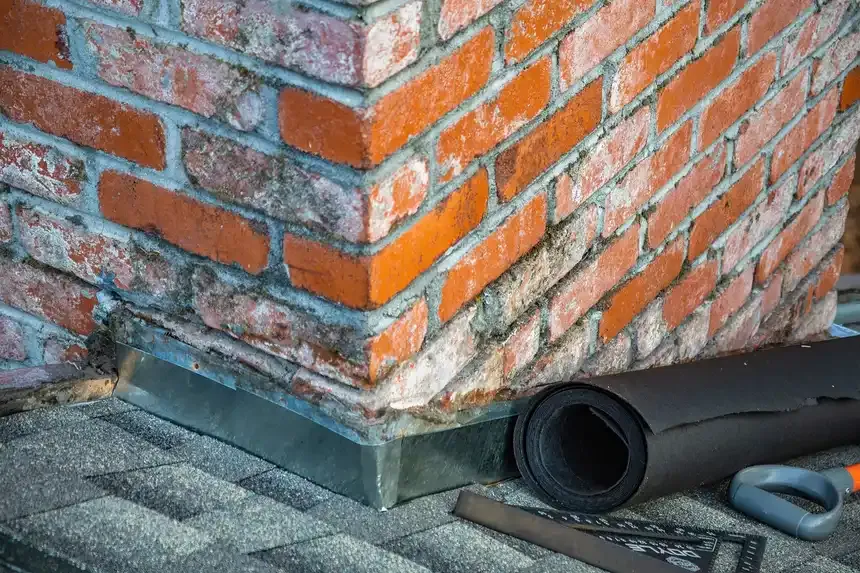
Chimney flashing and repair Tomball TX is a roof repair service that seals the joint between a chimney and roof to prevent water entry or restore a leaking connection. The system usually combines step flashing woven beneath shingles with counterflashing set into or secured against the chimney masonry. We remove failed sealant and damaged material, check the roof underlayment and decking, then fit and secure replacement flashing. A moisture meter helps us check for concealed dampness around the leak path. Correct layering matters: roof water must drain over the flashing, not behind it.
Tomball homes face heavy rain, humidity, wind, and sharp temperature changes that can loosen mortar joints, lift shingles, or split old sealant. A small opening can send water down a chimney chase and leave ceiling water stains far from the actual entry point. We check the roof surface and attic where accessible, then identify whether the flashing, shingles, masonry, or roof decking needs attention. If you are comparing chimney flashing and repair cost in Tomball TX, the main variables are roof height, flashing condition, and any concealed wood damage.
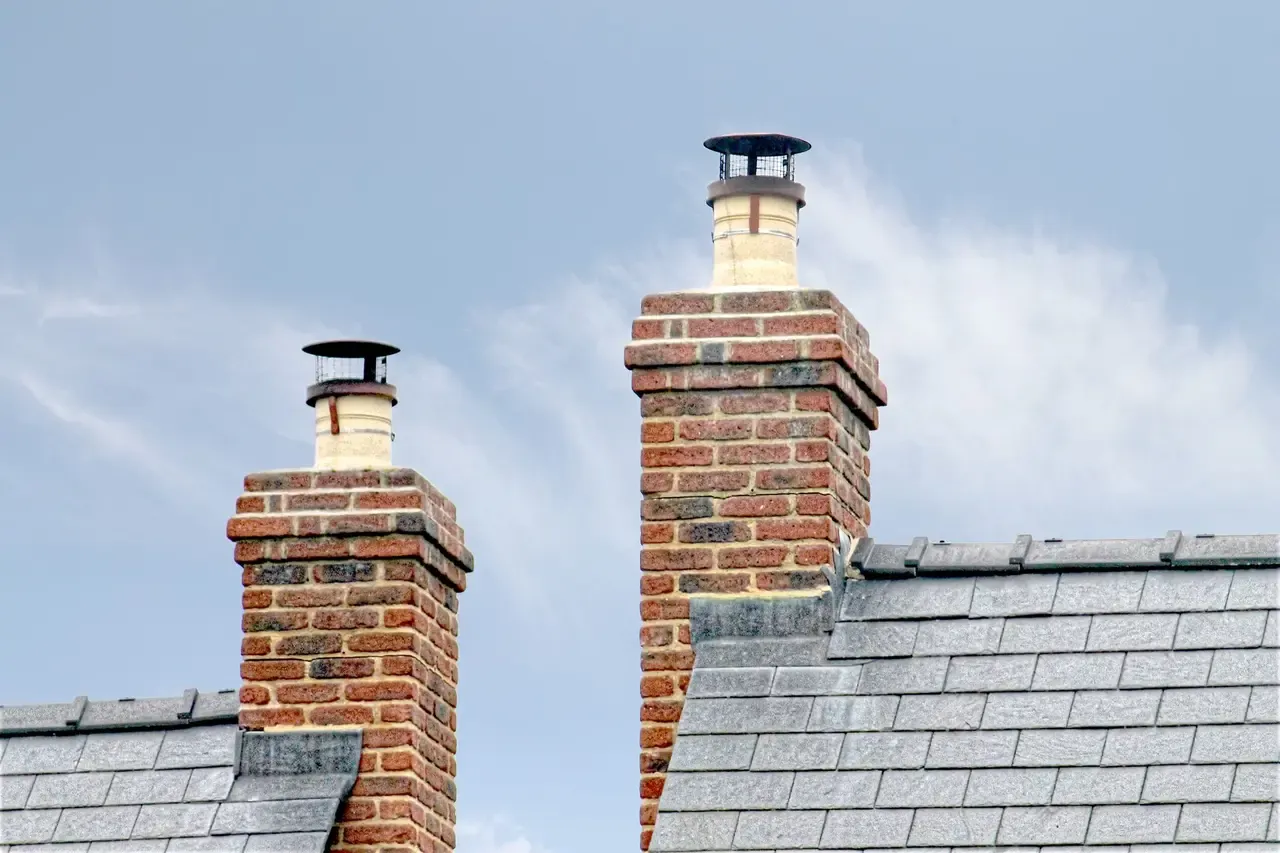
Sound chimney flashing overlaps roof layers to direct water away from the building.
What it is
A layered roof-to-chimney metal transition that sheds water onto the roof surface.
When you need it
When flashing loosens, corrodes, separates, or allows water to reach roofing layers.
What to expect
An inspection, targeted repair, restored roof layers, and a review of completed work.
What to expect
Chimney flashing repair Tomball TX follows a clear sequence: locate the entry point, expose the affected layers, correct the flashing, and check the finished water path. We explain each step and keep you informed while work is underway.
Inspect the leak
We start with your description of when the leak appears, then inspect the chimney perimeter, roof slope, and nearby shingles. A roofing ladder and fall protection harness are used for safe roof access. The initial inspection usually takes 30 to 60 minutes, depending on roof height and access, and we check inside for visible staining or damp materials.
Roof access
Leak clues
Initial check
Trace water entry
Our roofer checks the uphill side, corners, and lower apron, where water commonly works beneath a failed joint. We look for lifted shingles, cracked mortar, rusted metal, and split sealant; a utility knife and pry bar help expose limited areas without unnecessary disturbance. You see the likely entry point before we recommend a repair.
Trace water
Check edges
Find entry
Prepare the assembly
We remove the roofing and metal necessary to reach the damaged section, then clear debris and inspect the underlayment and decking. If damp or soft wood is present, we identify its extent before covering it. A shingle ripper and roofing hammer help separate materials cleanly, while tin snips shape replacement metal to fit the chimney profile.
Open layers
Inspect decking
Prepare metal
Repair and integrate
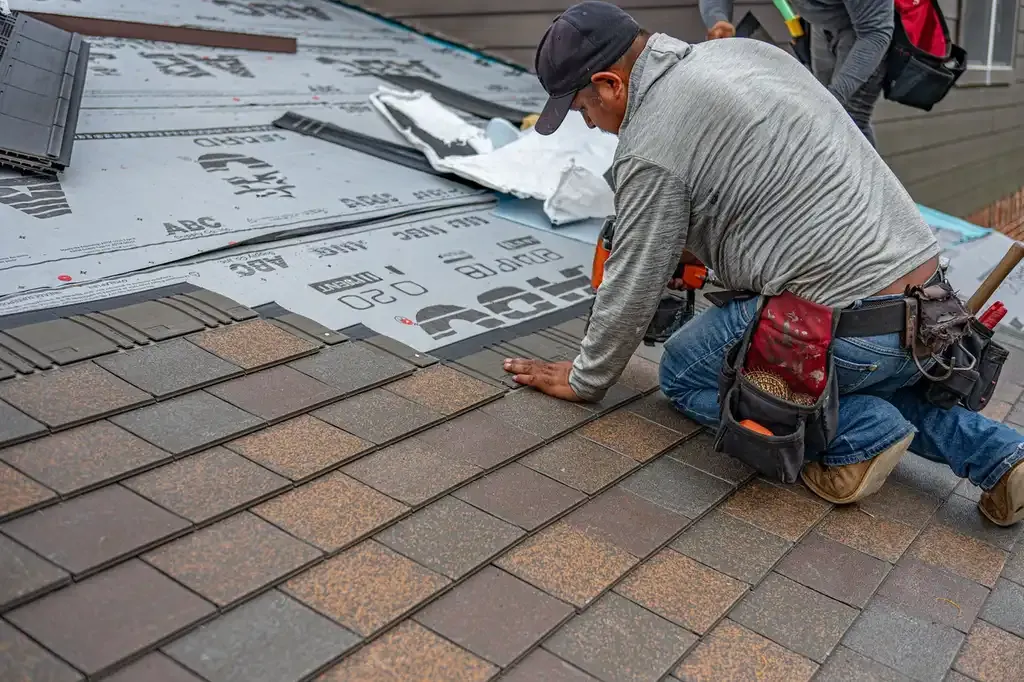
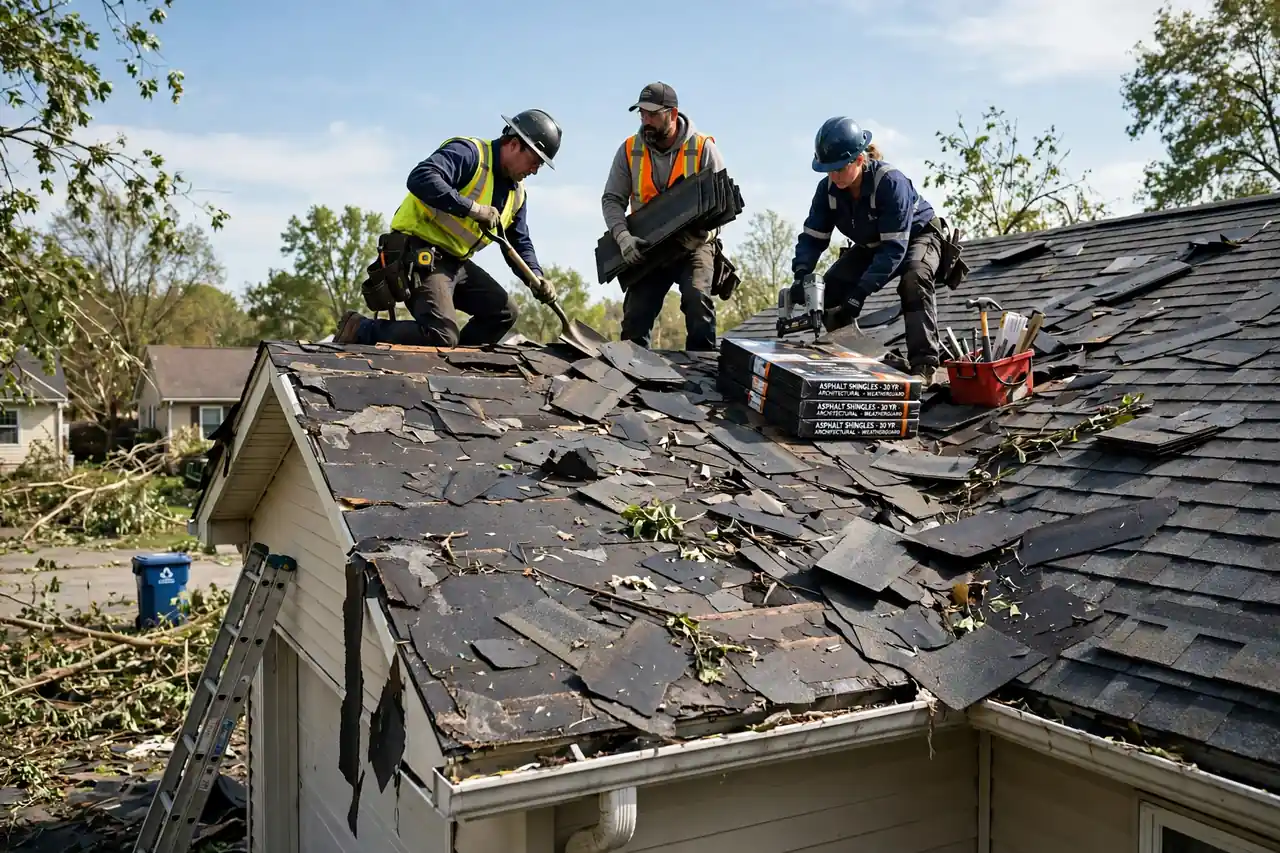
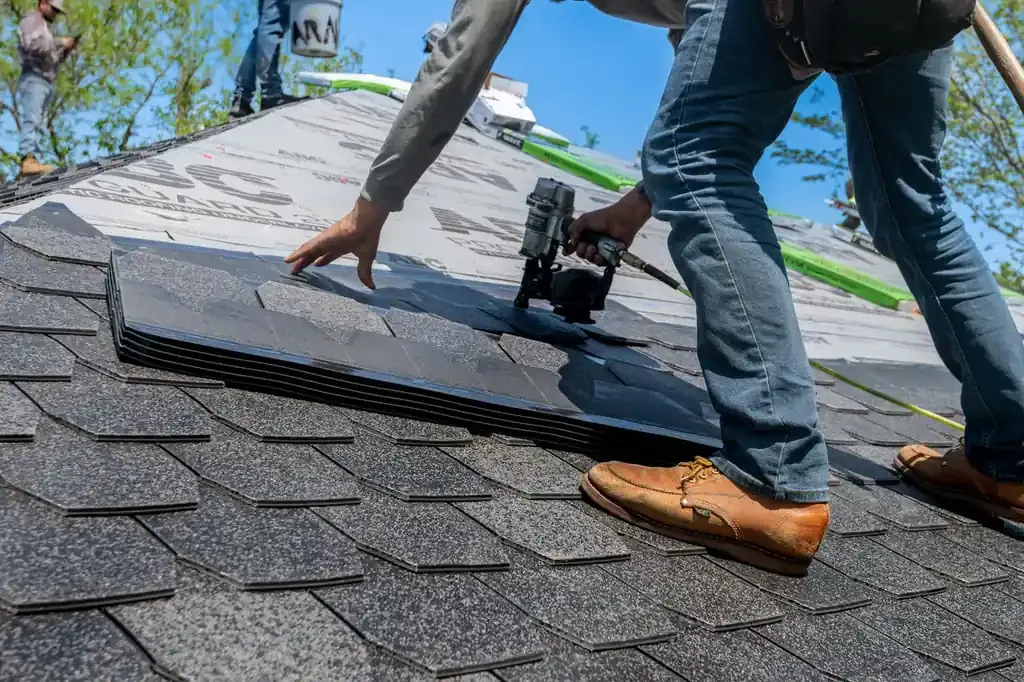
We install or reset base, step, and counterflashing so each layer sheds water onto the next. Replacement shingles are woven back into the roof, and compatible roof sealant is used only where the detail calls for it. A typical accessible repair takes two to four hours; extensive masonry or decking work adds time.
Fit flashing
Restore shingles
Direct runoff
Check and explain
Before leaving, we inspect the repaired edges, fasteners, shingle alignment, and runoff path. We remove loose debris and show you the completed area, including any condition that needs a separate repair. You receive a plain explanation of the work performed and basic maintenance points, so the next inspection has a useful reference.
Check overlaps
Review repair
Explain care
Tools and repair methods
Move across a circle, or focus it and press Enter, for an illustrative thermal view of the photograph.
Roofing ladder
We use a properly positioned roofing ladder to reach the chimney area and maintain controlled access while inspecting and repairing the roof.
Fall protection harness
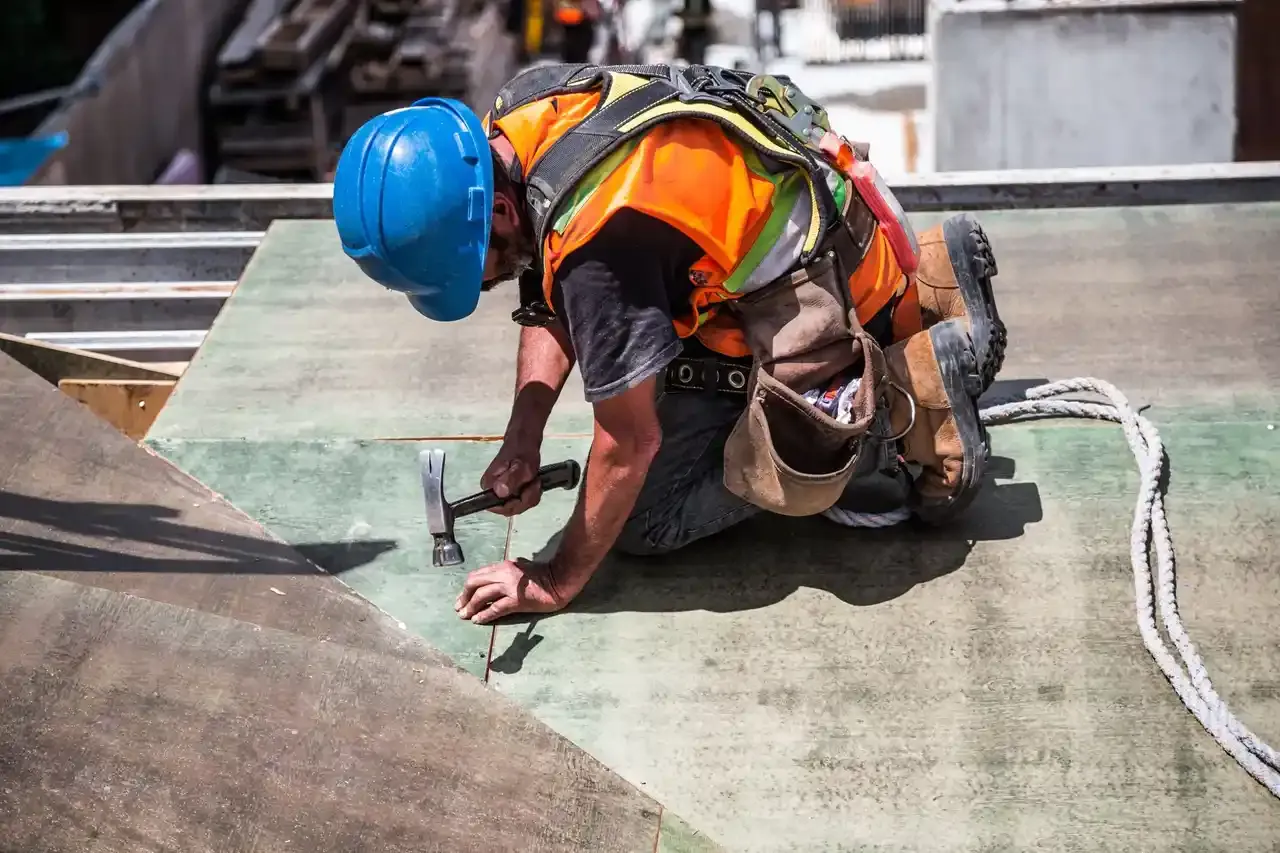
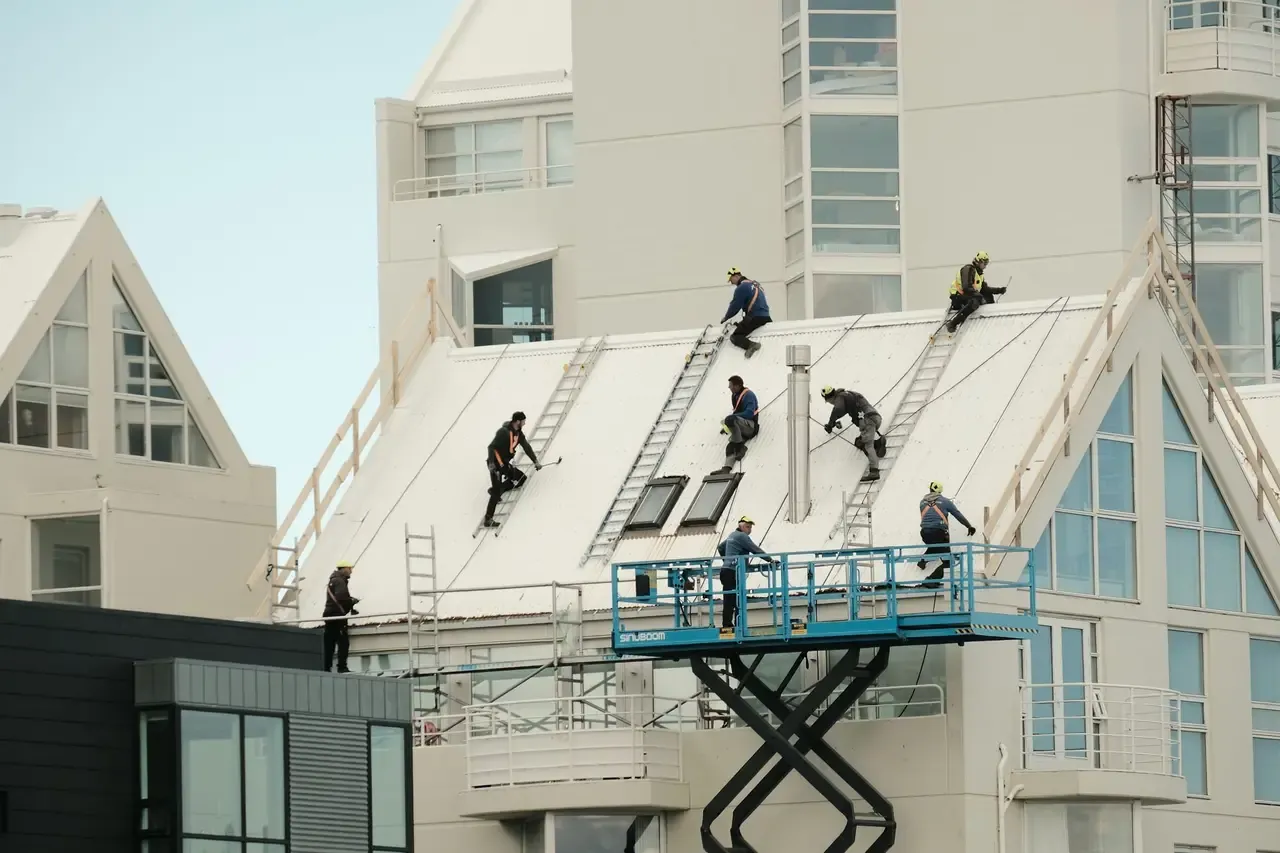
Our crew uses fall protection equipment suited to roof conditions, particularly on steep or elevated slopes where secure movement matters.
Shingle ripper
This tool lifts and separates shingles around the chimney so we can reach step flashing while limiting unnecessary disturbance to surrounding courses.
Tin snips
We cut and shape replacement flashing to fit the chimney profile and roof plane, creating clean edges for properly overlapped metal.
Moisture meter
We use a moisture meter to check accessible wood and building materials when a leak suggests hidden dampness near the roof opening.
Thermal views are illustrative, generated from the photographs.
Methods
Layered flashing integration
We install step flashing in sequence with the shingle courses, then position counterflashing to cover the upper edge. This layered approach gives runoff a continuous path over the roof instead of asking exposed sealant to carry the full water load.
Targeted roof opening
We remove only enough roofing to inspect and repair the failed joint. After checking underlayment and decking, we restore the layers in order and align replacement shingles with the existing roof. This keeps the repair focused while allowing us to address concealed damage we can see.
Water-path diagnosis
We compare the interior stain, attic evidence, roof slope, and chimney flashing layout to determine where water enters and travels. This matters because a leak can move along roof decking before appearing indoors. We check nearby roof valleys and penetrations when their drainage paths intersect the chimney area.
When to call for chimney repair
Rain stain
A Tomball ceiling develops a fresh brown ring after the first heavy November rain.
We inspect the chimney flashing, surrounding shingles, and accessible attic area to identify whether the stain follows a roof leak. If the joint is open, we repair the failed metal or overlap and check for damp roof decking before closing the surface.
Outcome: You get a clear source diagnosis and a repair aimed at stopping further water entry before winter storms add more moisture.
Wind damage
Wind-driven rain reaches a chimney on a two-story home near Lakewood Grove.
We check the uphill and sidewall transitions, looking for lifted counterflashing, loose shingles, or cracked sealant. Using safe roof-access equipment, we repair the affected area and inspect neighboring courses for damage caused by the same wind event.
Outcome: The chimney joint is restored as part of the roof's drainage path, with nearby damage identified rather than left hidden.
Attic leak
A property manager sees recurring attic dampness below a commercial chimney.
We examine the roof system around the chimney and compare the damp location with the flashing layout and runoff direction. We explain the repair needed for the specific roof material, then restore disturbed surfaces and report visible conditions for the building's maintenance records.
Outcome: The manager gets a documented repair explanation and a clearer basis for monitoring the roof after future rain.
Aging flashing
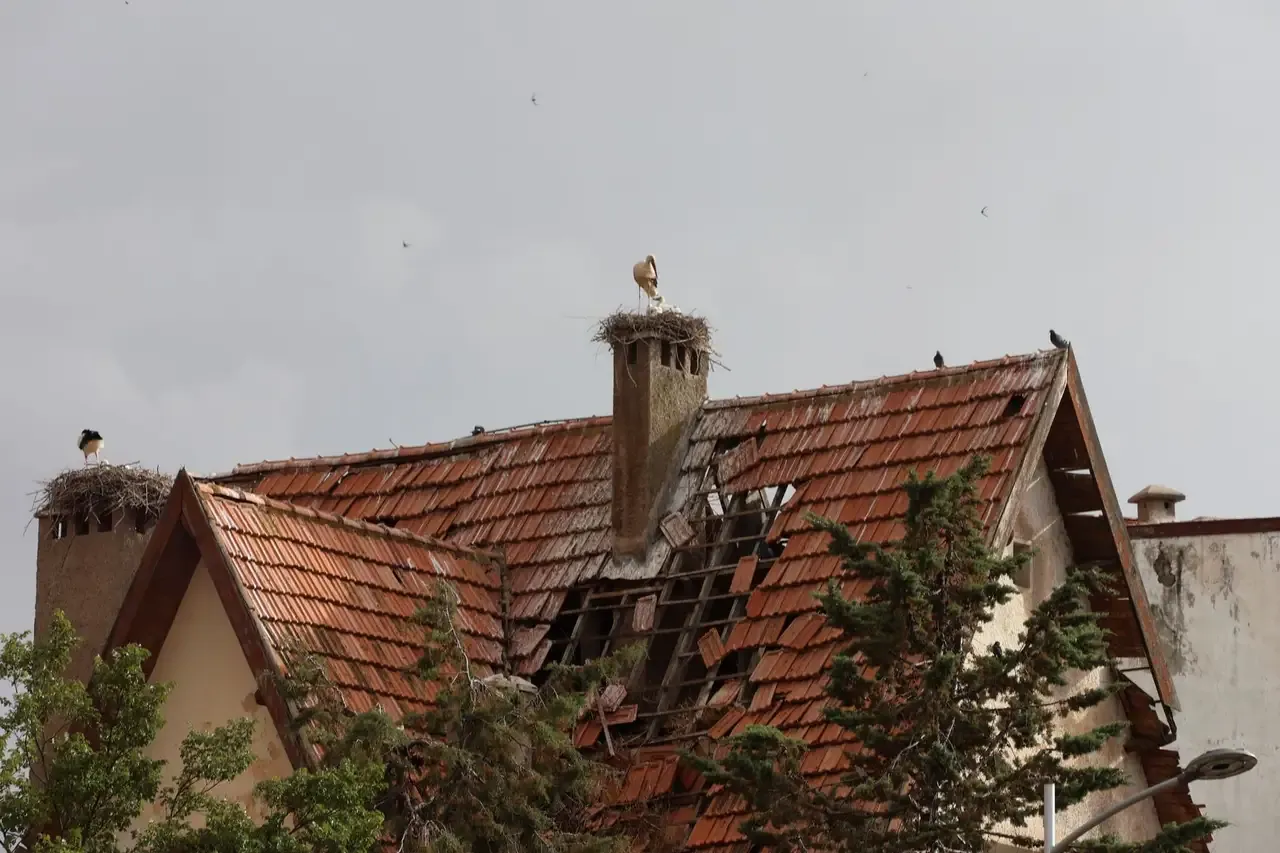
An older Tomball home has rusted flashing and shingles curling beside the chimney.
We inspect the metal, shingle courses, and underlying roof layers to determine whether a localized repair will restore drainage. We replace failed flashing and damaged shingles where needed, then check for soft decking that could require additional work.
Outcome: The repair addresses both the metal transition and the adjacent roof covering, reducing the chance that one failed layer undermines the other.
Old Town TomballWillow CreekTomball Town Center
How flashing repair works in Tomball
Tomball's humid weather and periods of heavy rain put repeated water against chimney joints, while wind can lift shingles or loosen exposed metal. Our team checks the uphill side first, then follows each overlap toward the lower apron to see where water can get behind the assembly.
Homes in Old Town Tomball and established neighborhoods may have older roofing details, while newer properties can have steeper rooflines or different shingle profiles; we adapt the repair to the roof in front of us. Chimney flashing services Tomball also account for the roof material, masonry condition, and access needed to reach the joint safely.
If you need same-day chimney flashing repair Tomball, call and describe whether water is actively entering, where the interior stain appears, and whether the roof has storm damage. We serve Harris County communities in 77375 and 77377. Repair details follow applicable local requirements and the relevant International Residential Code provisions adopted by the authority having jurisdiction.
Old Town Tomball: Older roof assemblies can have several generations of shingles or flashing; we inspect the layers carefully before choosing a repair.
Willow Creek: We check chimney transitions and nearby roof valleys after wind-driven rain, since both can contribute to a stain near an interior wall.
Tomball Town Center: For residential and commercial buildings, we match the flashing repair to the roof covering and the way water drains across the surface.
Lakewood Grove: On elevated or complex rooflines, safe access and a close look at the uphill chimney edge help guide the repair.
Heavy rain tests worn flashing and small gaps: A narrow opening at the counterflashing can admit water quickly when rain runs down the chimney or blows against the roof. We inspect overlap, sealant, and nearby shingles to find the first point where water gets behind the assembly.
Humidity slows drying inside roof cavities: Moisture trapped in roof decking or insulation can linger after a leak stops, making early detection important. We check accessible materials and explain whether dampness appears confined to the flashing repair or extends farther into the roof.
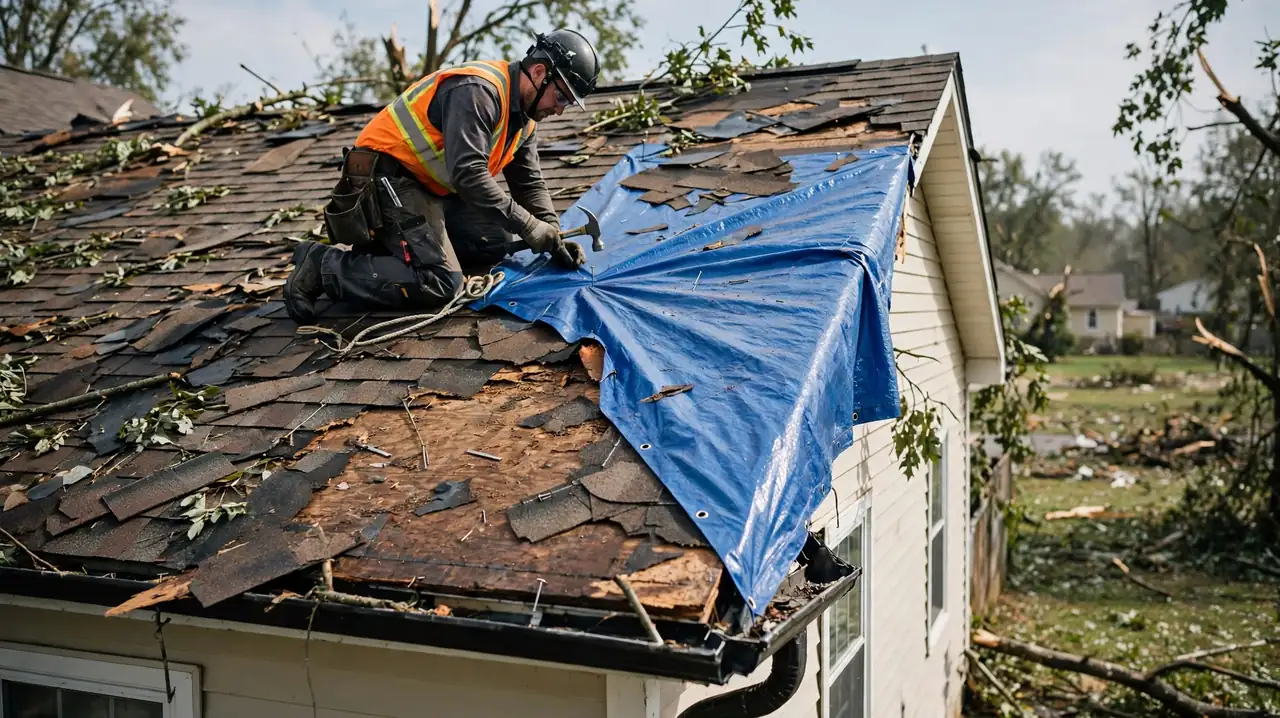
We review the leak location and walk through visible roof conditions.
We protect the work area and set up safe roof access.
We check the repaired layers and explain the next steps.
From problem to finished result.
IllustrativeThe thermal view is generated from the photograph. It is not a measurement. Drag the handle, or use the arrow keys once it is focused.
Recurring stain after rain
Before: A homeowner in Tomball saw a ceiling stain expand after each hard rainfall. The roof looked intact from the ground, but the upper chimney flashing had separated and water was reaching damp underlayment. A quick exterior seal had hidden the opening without correcting the loose metal or checking the wood below.
After: We lifted the affected shingle courses, replaced the loose flashing section, and restored the roof layers in sequence. The repair took about three hours and included checking the nearby decking with a moisture meter. Afterward, the homeowner could see the repaired overlap and knew which ceiling area to monitor through the next rain.
Check the ceiling and accessible attic after major rain, and arrange a roof inspection if new staining appears. Keep photographs of the repaired area for comparison.
Wind-damaged chimney edge
Before: After strong wind, a property owner near Willow Creek noticed a raised metal edge and two curling shingles beside the chimney. Rain had started to mark the attic insulation, but the source was not obvious from indoors. The lifted counterflashing left the upper edge vulnerable to wind-driven water.
After: We secured the chimney transition by replacing the damaged metal and restoring two shingle courses. The work took roughly four hours, including inspection of adjacent underlayment. The roof surface was left aligned around the chimney, and the attic area was checked for visible dampness before we reviewed the repair with the owner.
After a wind event, look from the ground for lifted shingles or loose metal and check for new attic marks. Avoid walking on the roof.
Aging flashing and soft decking
Before: A home in Old Town Tomball had rusted flashing and a persistent leak near the chimney. Once the surrounding shingles were lifted, the roof decking showed a soft section that had stayed wet through repeated storms. Replacing sealant alone would have left deteriorated wood beneath the roof covering.
After: We removed the affected roofing, replaced the damaged decking section, and rebuilt the flashing transition with new overlapping metal. The repair took most of a workday because it involved both wood and roofing layers. The owner saw the exposed damage before it was covered and received an explanation of the completed assembly.
Have the chimney joint checked during routine roof maintenance, especially after heavy rain. Watch for recurring stains or musty attic odors that indicate moisture.
Solve common Tomball chimney leaks
If water appears near a chimney, the failure may sit beneath the shingles or behind the counterflashing rather than at the visible stain. We trace the entry route, repair the roof layers that have failed, and explain the remaining condition. That approach helps reduce repeat leaks and prevent avoidable damage to ceilings and roof decking.
Rain entryRainwater appears around the chimney after a stormRepeated moisture can stain ceilings, wet insulation, and weaken roof decking before the leak becomes easy to see from indoors. We inspect the chimney perimeter and nearby roof covering, paying particular attention to the uphill side and corners. After locating the opening, we replace or reset failed flashing and restore disturbed shingles. We also check accessible materials for moisture so the repair does not simply hide a continuing leak.
Cracked sealantSealant has cracked along the chimney edgeExposed sealant can split with roof movement and weather, allowing water behind metal that no longer forms a dependable overlap. We determine whether the sealant failed alone or the underlying flashing has loosened or corroded. Where the metal remains sound, we prepare the joint and apply compatible roof sealant only where the detail requires it. If the flashing itself has failed, we repair the metal assembly instead of relying on another surface bead.
Ceiling stainA ceiling stain spreads after each rainfallWater can travel along framing or roof decking, so the stain may grow far from the chimney and damage paint, drywall, or insulation. We compare the interior stain location with the roof and attic conditions, then trace likely water movement toward the chimney. Our inspection includes nearby valleys and roof penetrations that could mimic a chimney leak. Once we find the source, we explain and repair the specific roof transition involved.
Lifted flashingFlashing edges lifted after strong windA raised edge catches wind-driven rain and can loosen adjacent shingles, creating a larger opening with each storm. We check the metal edges, fasteners, and shingle courses around the chimney, then reset or replace damaged parts. We inspect for wind damage extending beyond the flashing and secure the roof layers in their proper order. You can see which parts were affected and how the repair directs water away.
Benefits you can see
Correctly layered flashing directs rain away from the roof-to-chimney joint.
Stop water at entry
We trace the path from the roof surface to the chimney and repair the opening that lets rain inside. Correctly overlapped flashing directs water downslope, reducing repeat leaks after a storm. If your ceiling stain is several feet from the chimney, we check the roof cavity and decking rather than assuming the visible mark identifies the source.
Protect roof structure
A persistent flashing leak can wet roof underlayment, roof decking, framing, and insulation. We look for soft wood and moisture before closing the assembly, so damaged material is not simply covered. Tomball chimney flashing and repair is most effective when the repair addresses both the water path and any affected roofing immediately around it.
Keep roof layers working
Step flashing, shingles, and counterflashing must overlap in the right sequence. We lift only the roofing needed to reach the joint and replace disturbed materials carefully. That detail matters on asphalt shingles and metal roofing panels alike, where a bead of roof sealant alone does not replace a properly formed metal water barrier.
Know the repair scope
We show you the damaged area and explain whether the work calls for resealing, a partial flashing replacement, or rebuilding the assembly. You receive a practical description of the repair and its cost before work proceeds. For affordable chimney flashing repair in Tomball, Texas, addressing a small failure early can limit collateral repairs.
What you receive
Clear records you can keep and share.
Photo record
Images of visible conditions and completed repair.
Work summary
A brief record of repair tasks completed.
Material notes
Notes on flashing and roofing materials used.
Care notes
Simple points for monitoring the repaired area.
Flashing parts do different jobs
Knowing how base, step, and counterflashing work together helps explain why surface sealant alone may not stop a recurring leak.
Base flashing
Directs water from the chimney base onto the roof covering.
Sits at the lower transition
Works with roof slope
Must shed water outward
Step flashing
Interlaces with shingles along chimney sidewalls.
Follows shingle courses
Creates layered side protection
Needs intact roof covering
Counterflashing
Covers the upper edge of flashing against chimney masonry.
Protects the upper joint
Must remain secure
Works with base layers
Materials and surfaces
Roof flashing
Asphalt shingles
Roof underlayment
Roof decking
Roof sealant
Clay tiles
Metal panels
Chimney masonry
Service ZIP codes.
A list like this tells people straight away whether you cover their street. Not listed? Call and ask: it only takes a minute.
We had a brown ceiling mark after every hard rain and thought the chimney mortar was the only problem. The crew found a lifted flashing edge and wet material beneath two shingle courses. They showed us the damaged spot, repaired the transition, and explained what to watch in the attic. The ceiling stayed dry through the next storm.
Water was getting in near our chimney, but the stain showed up well down the hallway. They checked the roof and explained how the water was traveling under the shingles. The repair took part of the morning, and they cleaned up the loose metal and roofing scraps before leaving. I appreciated seeing the finished flashing rather than just hearing that it was done.
After wind-driven rain, we noticed dampness around the upper floor ceiling beside a chimney. The team inspected the counterflashing and nearby roof surface, then replaced the damaged section and rechecked the shingle overlap. They gave us a clear explanation for our maintenance file and pointed out the one area to review during our next roof inspection.
Frequently asked questions
Typical 2026 pricing in Tomball depends on roof height, access, flashing type, masonry condition, and hidden wood damage. We inspect the assembly and explain the repair that fits the observed problem before work begins. Chimney flashing repair Tomball TX should address the entry path, not only cover a visible gap.
Most accessible chimney flashing repairs take two to four hours, while larger replacements or decking repairs can take a full day. Roof height, tile or metal roofing, and the amount of damaged material affect the schedule. We first locate the leak, then remove only the layers needed to reach the failure. If weather prevents safe roof work, we explain the next practical step and protect the affected area where appropriate.
Choose a Tomball roofer who can explain the flashing layers, show the leak source, and describe how the repair will shed water. Ask whether the inspection includes adjacent shingles, underlayment, and roof decking, not just exposed sealant. We walk you through the visible conditions and recommend a repair matched to your roof material. Clear answers and a specific repair plan are more useful than an unsupported ranking.
Same-day chimney flashing repair Tomball is possible when the roof is safe to access, materials are available, and the repair is limited in scope. Call (877) 791-3217 and describe active leaking, roof height, and any ceiling damage. We will discuss the next step and whether the immediate need is leak control or a complete flashing repair. Do not climb onto a wet or storm-damaged roof yourself.
Stop the leak with Tomball chimney flashing repair
A wet ceiling or fresh attic stain deserves a roof-level inspection before the next heavy rain. Call Tomball Roofing Experts at (877) 791-3217 and describe what you see; our roofing team will discuss the leak and the practical next step.
Call (877) 791-3217 to discuss roof replacement, roof repair, a leak, or storm damage at your Tomball property. Our phone team can hear the details and connect your request with an independent roofing company. Contact us during regular business hours, Monday through Friday, 8 a.m. to 6 p.m.; for active water entry, describe where it is happening when you call.